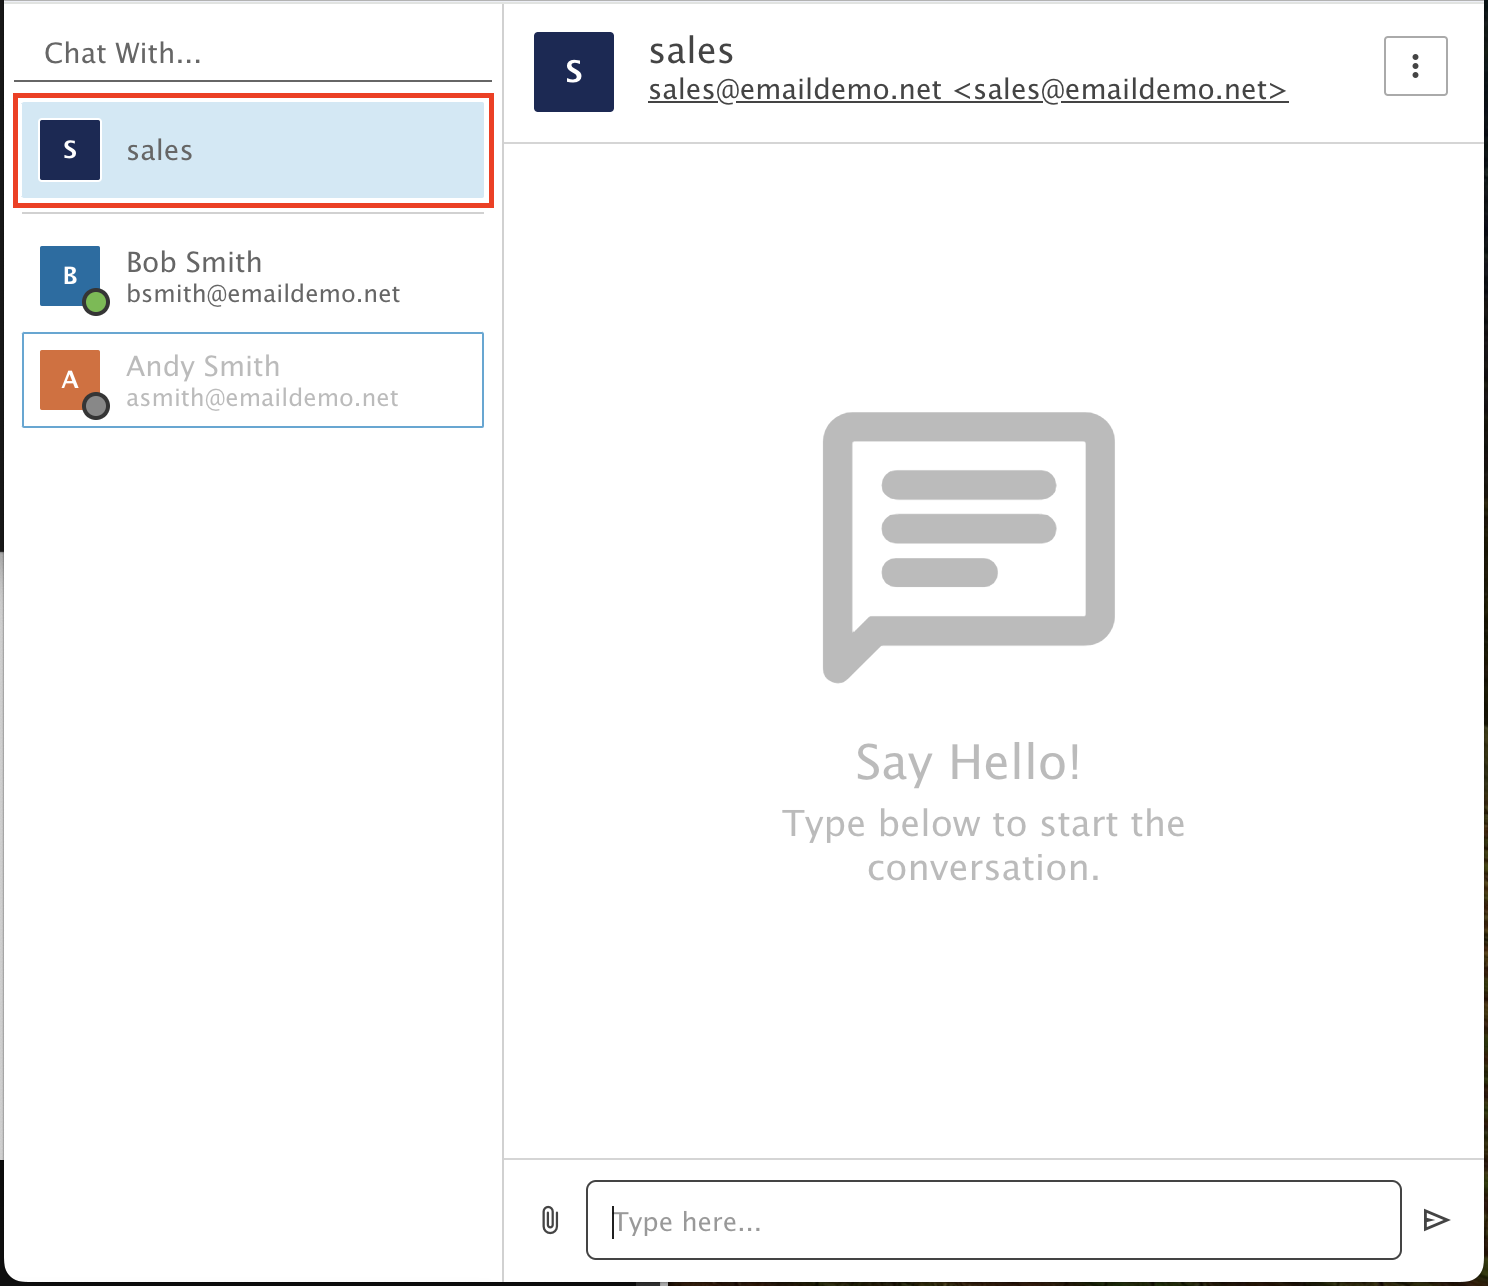
Create a Group Chat
Create a group chat for your team in the Control Panel.
You must be an administrator on the account and have access to our Control Panel.
In this example, we create a Group Chat named Sales that includes Amanda, Andy and Bob.
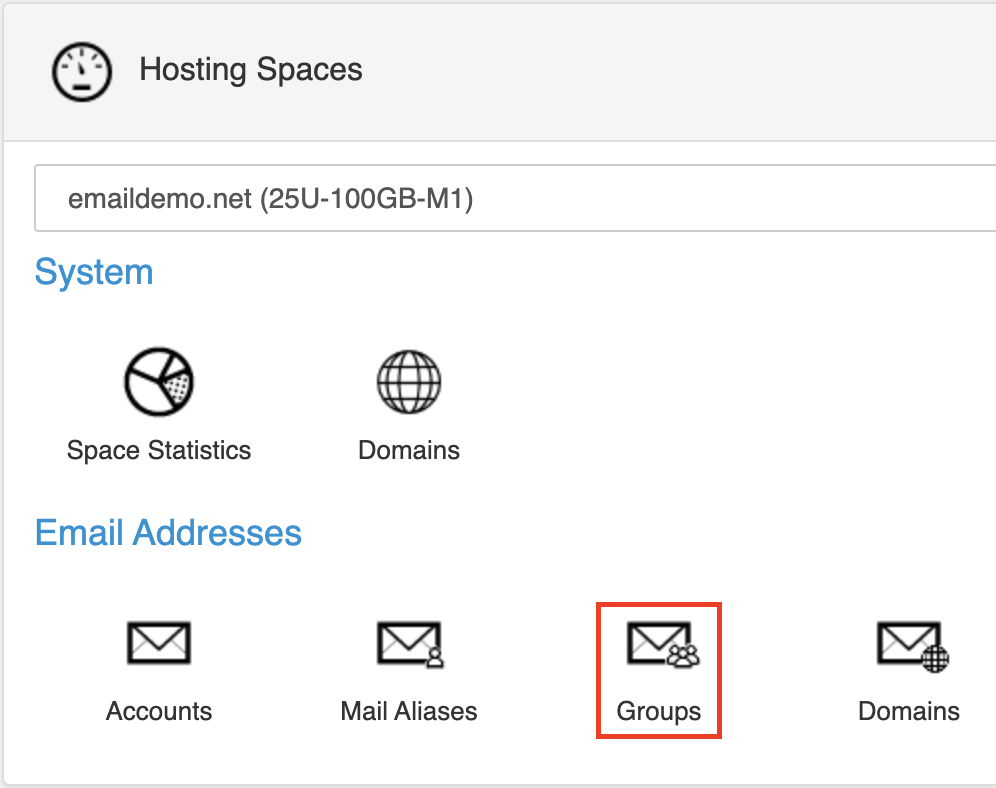
Step 1: Open Groups
In the Control Panel, click the Groups icon.
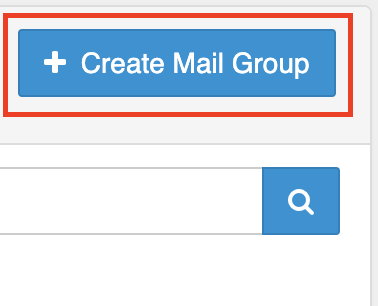
Step 2: Create a mail group
Click the + Create Mail Group button.
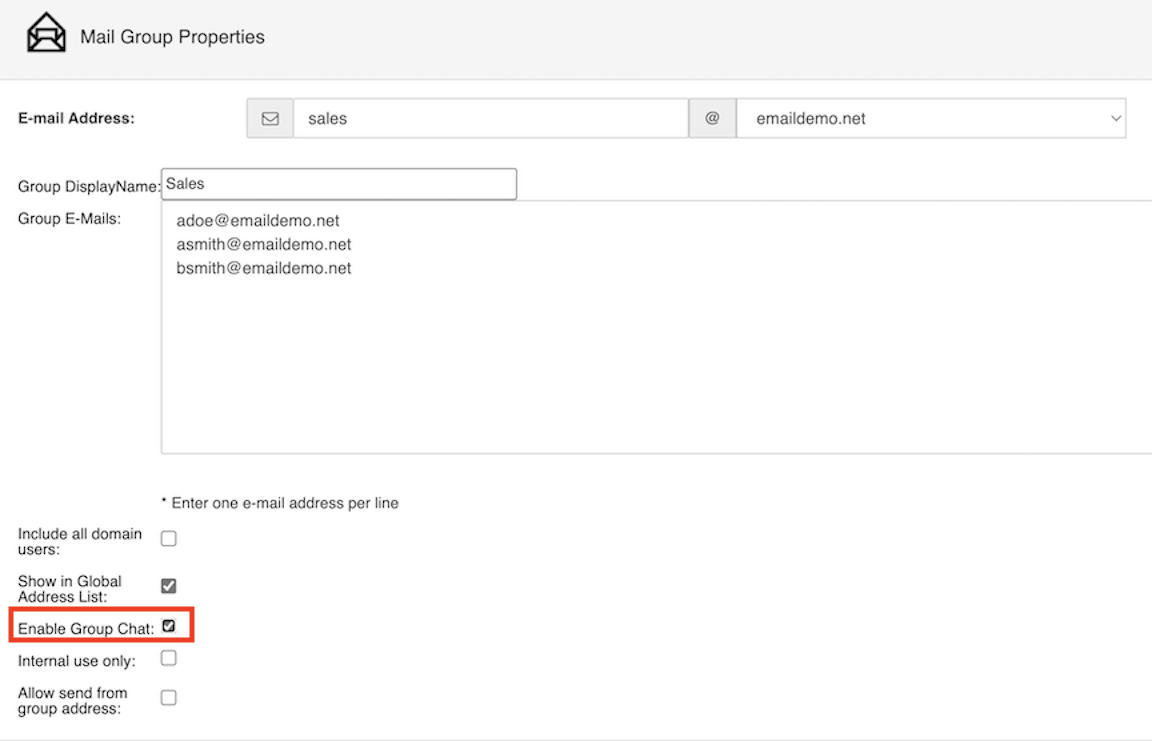
Step 3: Fill in the Mail Group Properties page
- E-mail Address: type the name of the group alias.
- Choose your domain name from the drop-down menu.
- Group Display Name: type the name of the group chat.
- Group E-Mails: type the user addresses you want in the group.
- Check the Enable Group Chat box.
Step 4: Save
Click Save.
Step 5: Check Webmail
Once the mail group is saved in the Control Panel, you will see the group in Webmail.