

eBox Desktop Client Software for Windows
Install the eBox desktop software on a Windows computer.
Before you start
- Windows 11 or Windows 10. Older versions are not supported.
- Internet speed of at least 10 Mbps download and 1 Mbps upload per user. For example, an office with 5 users needs 50 Mbps download and 5 Mbps upload. Faster is better.
- At least 8GB RAM. Use 16GB or more if you run lots of apps at once.
- 10GB of free disk space for the eBox Cache.
- Only one eBox user can be set up per computer. You cannot switch between users.
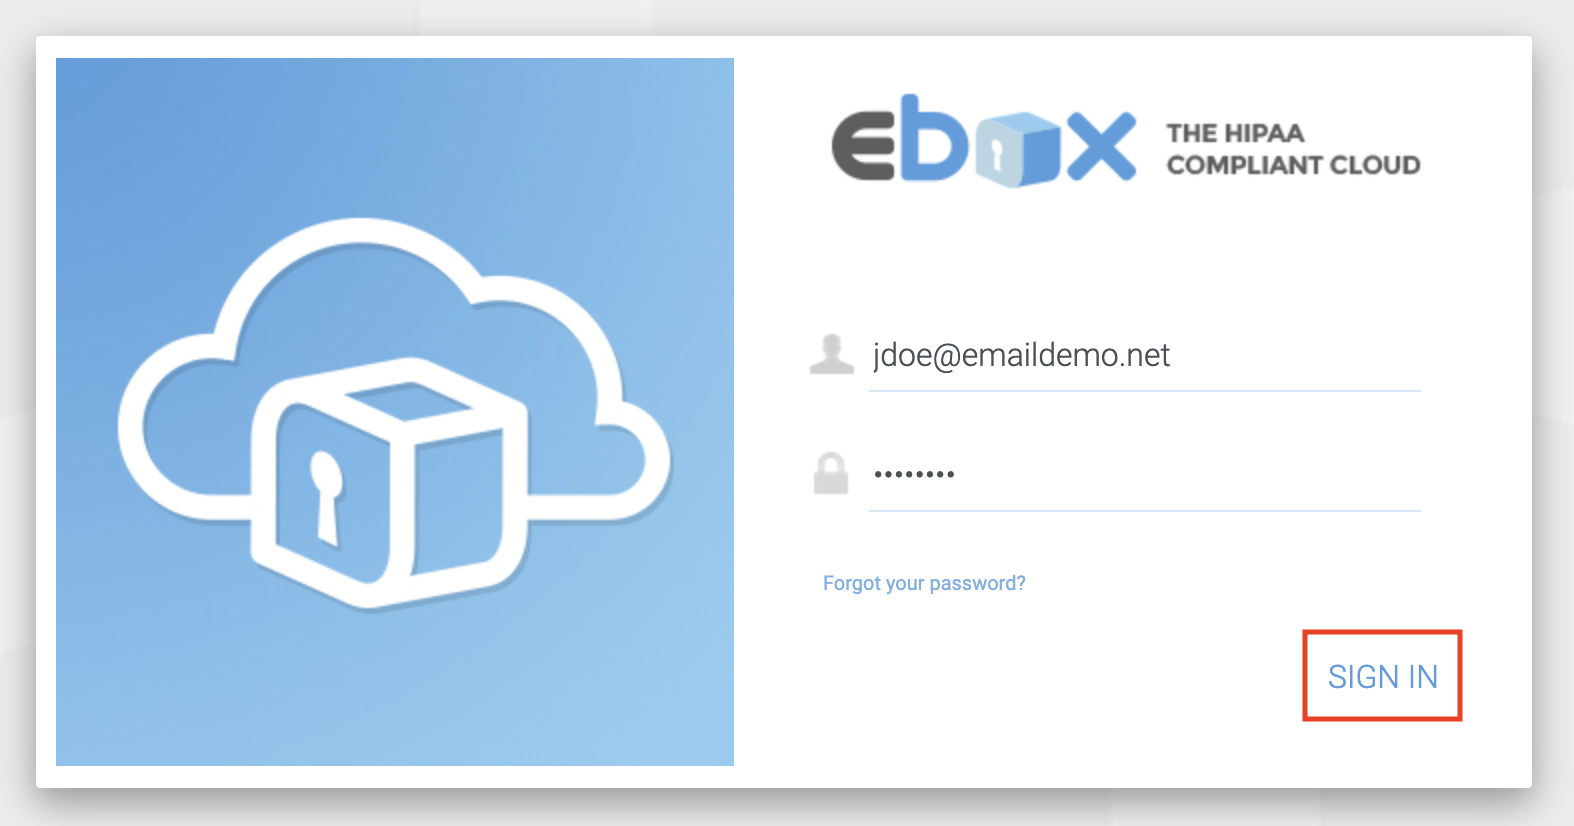
Step 1: Sign in to the eBox website
Step 2: Open the download page
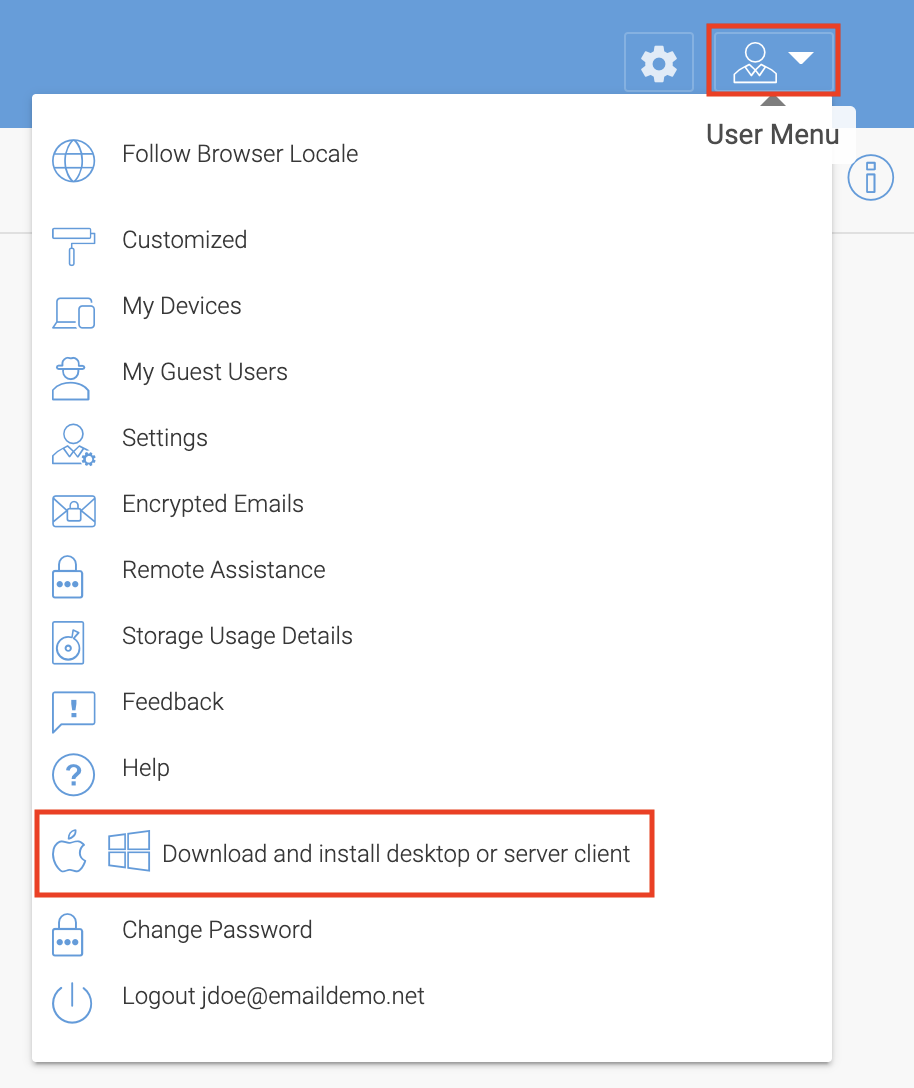
Click the User Menu (top right) and choose Download and install desktop client.
Step 3: Run the installer
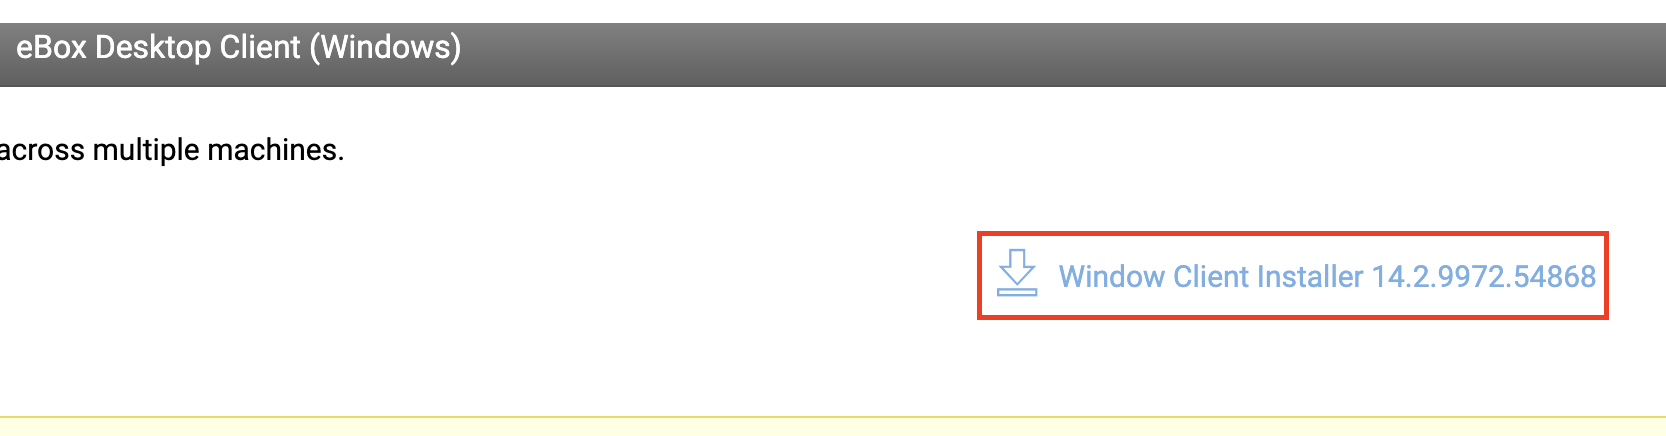
Download and run the Windows Client Installer.
Step 4: Launch eBox
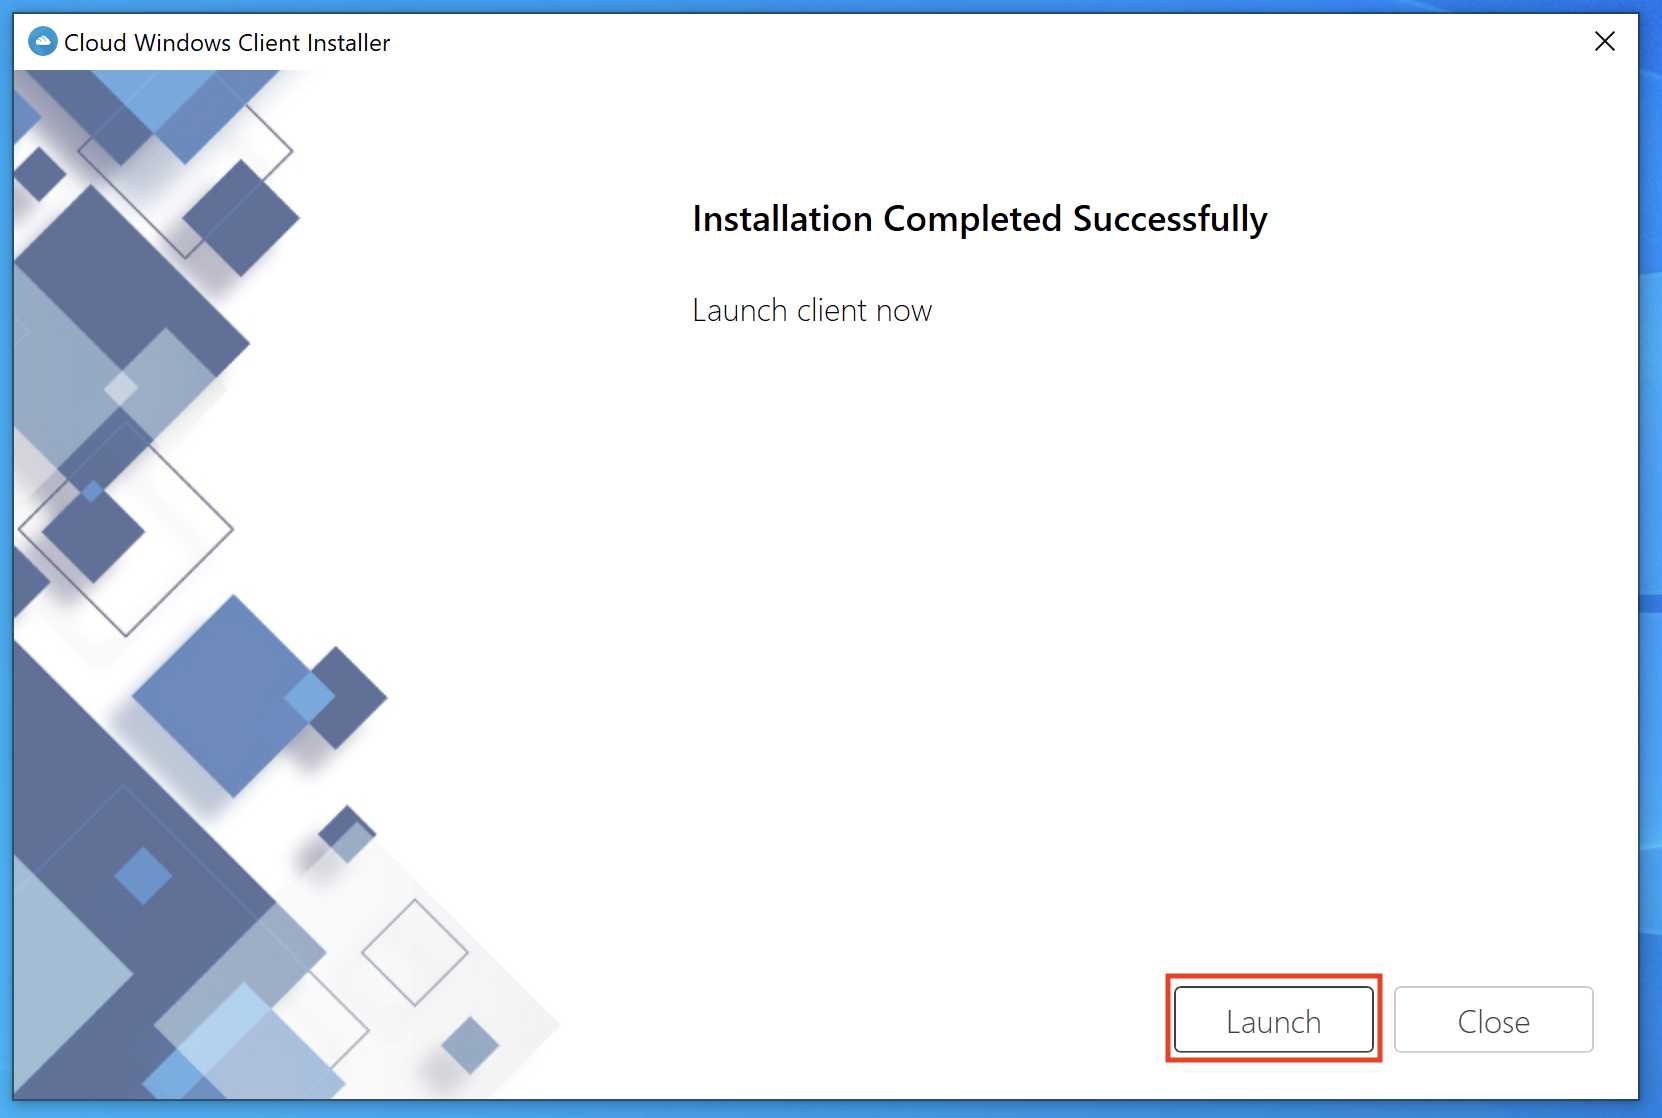
Click Launch at the end of the installation.
Step 5: Find your eBox drive
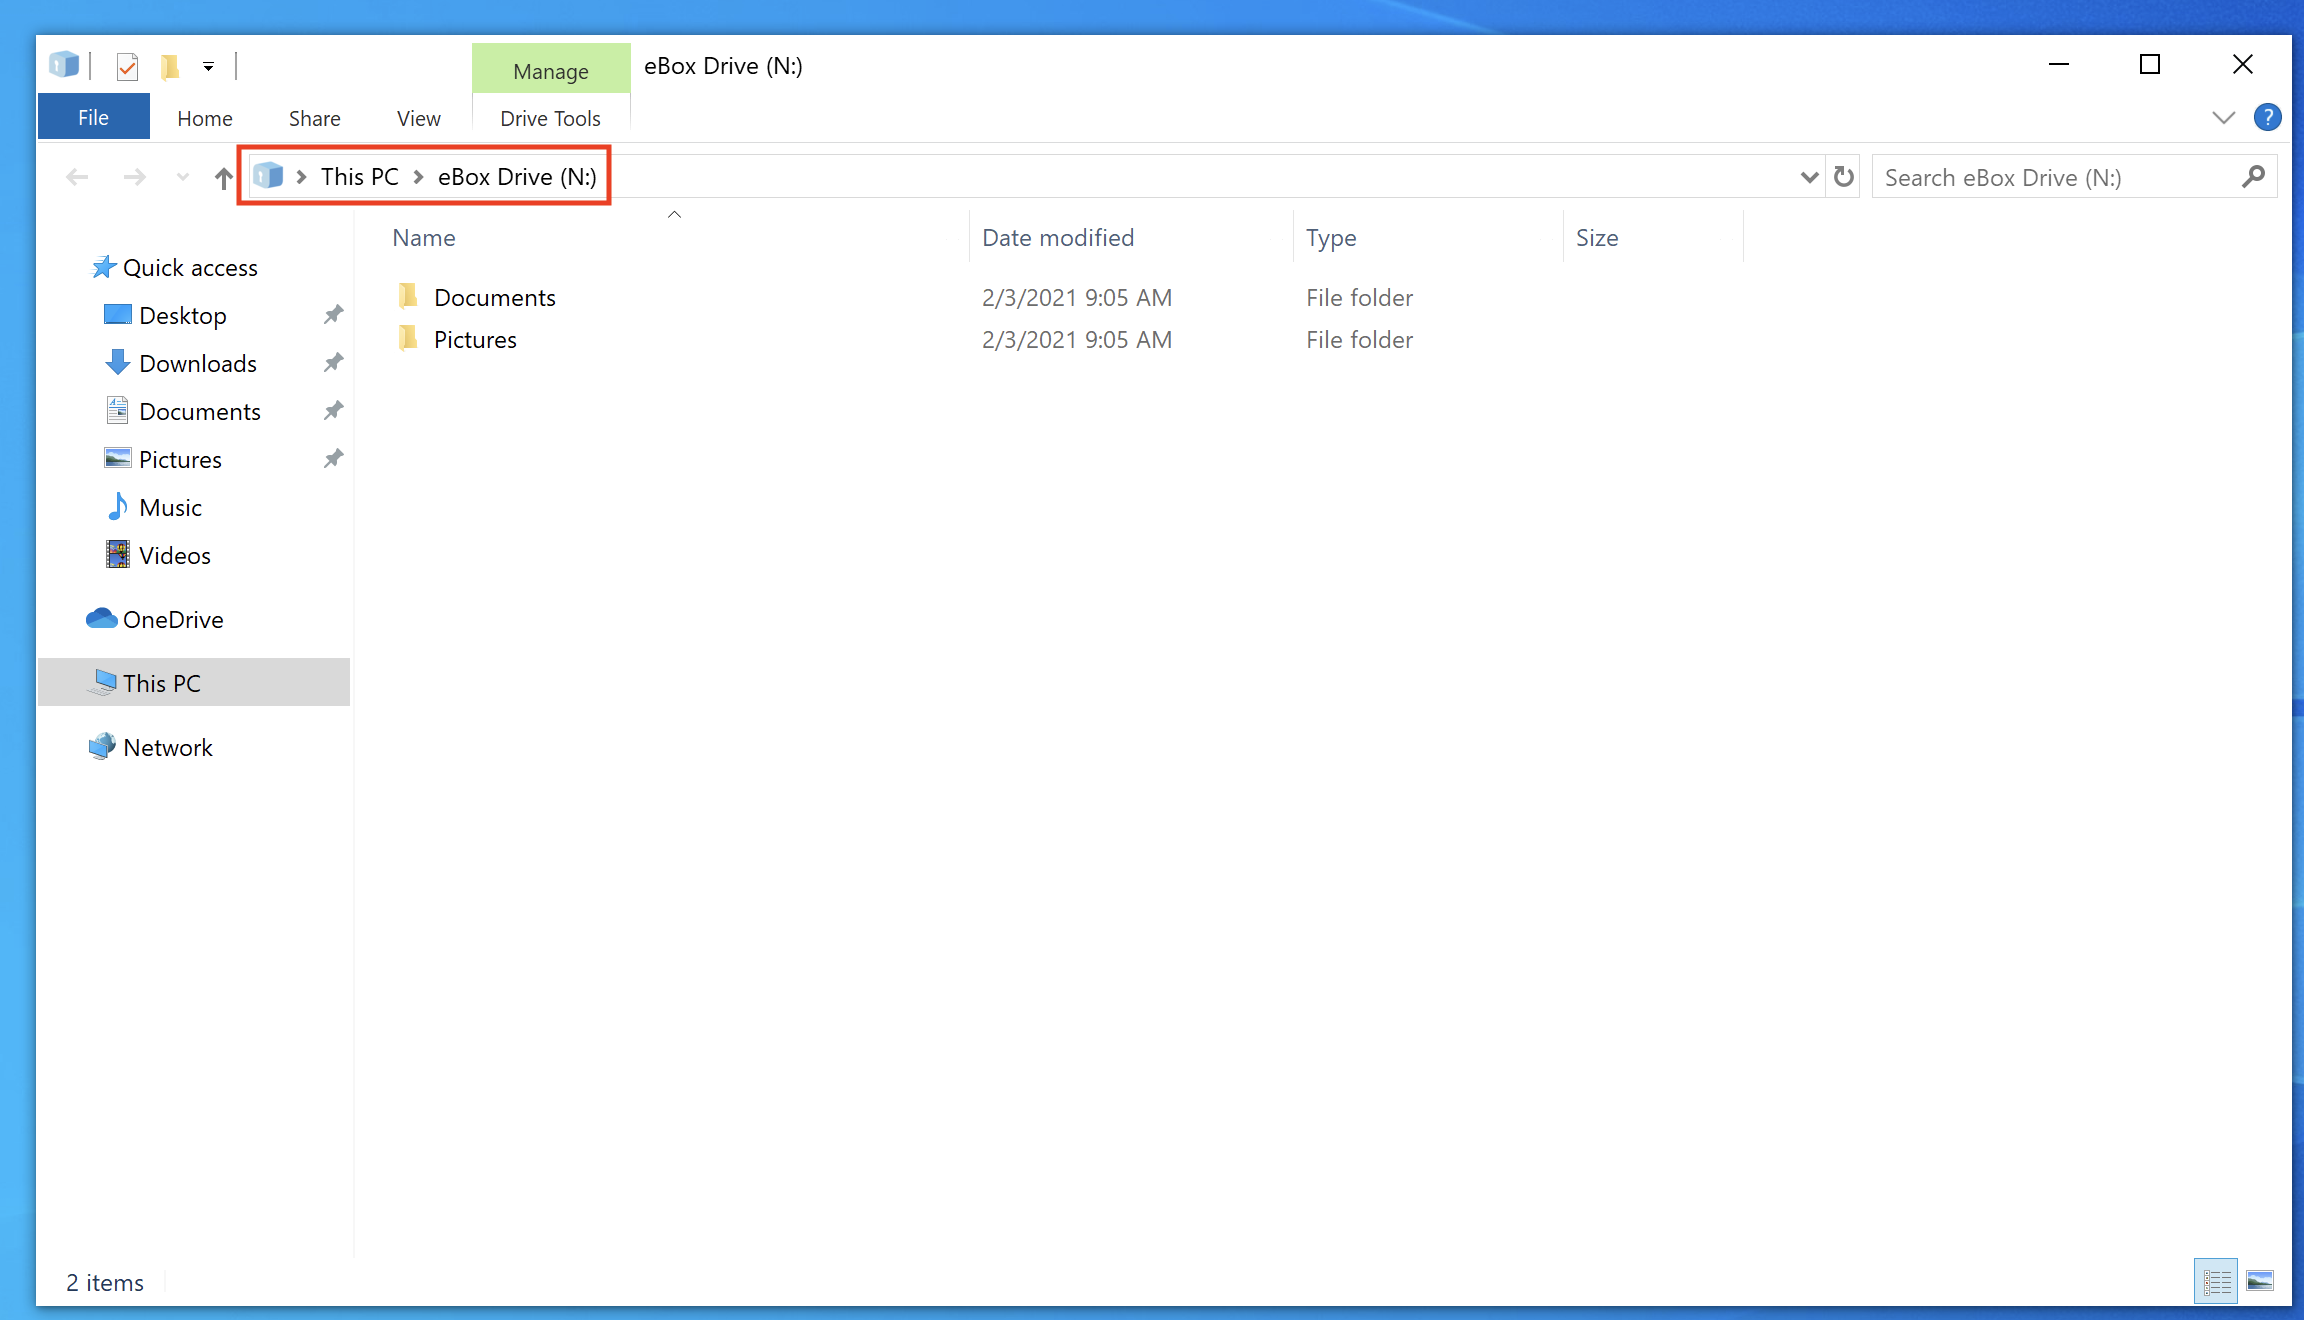
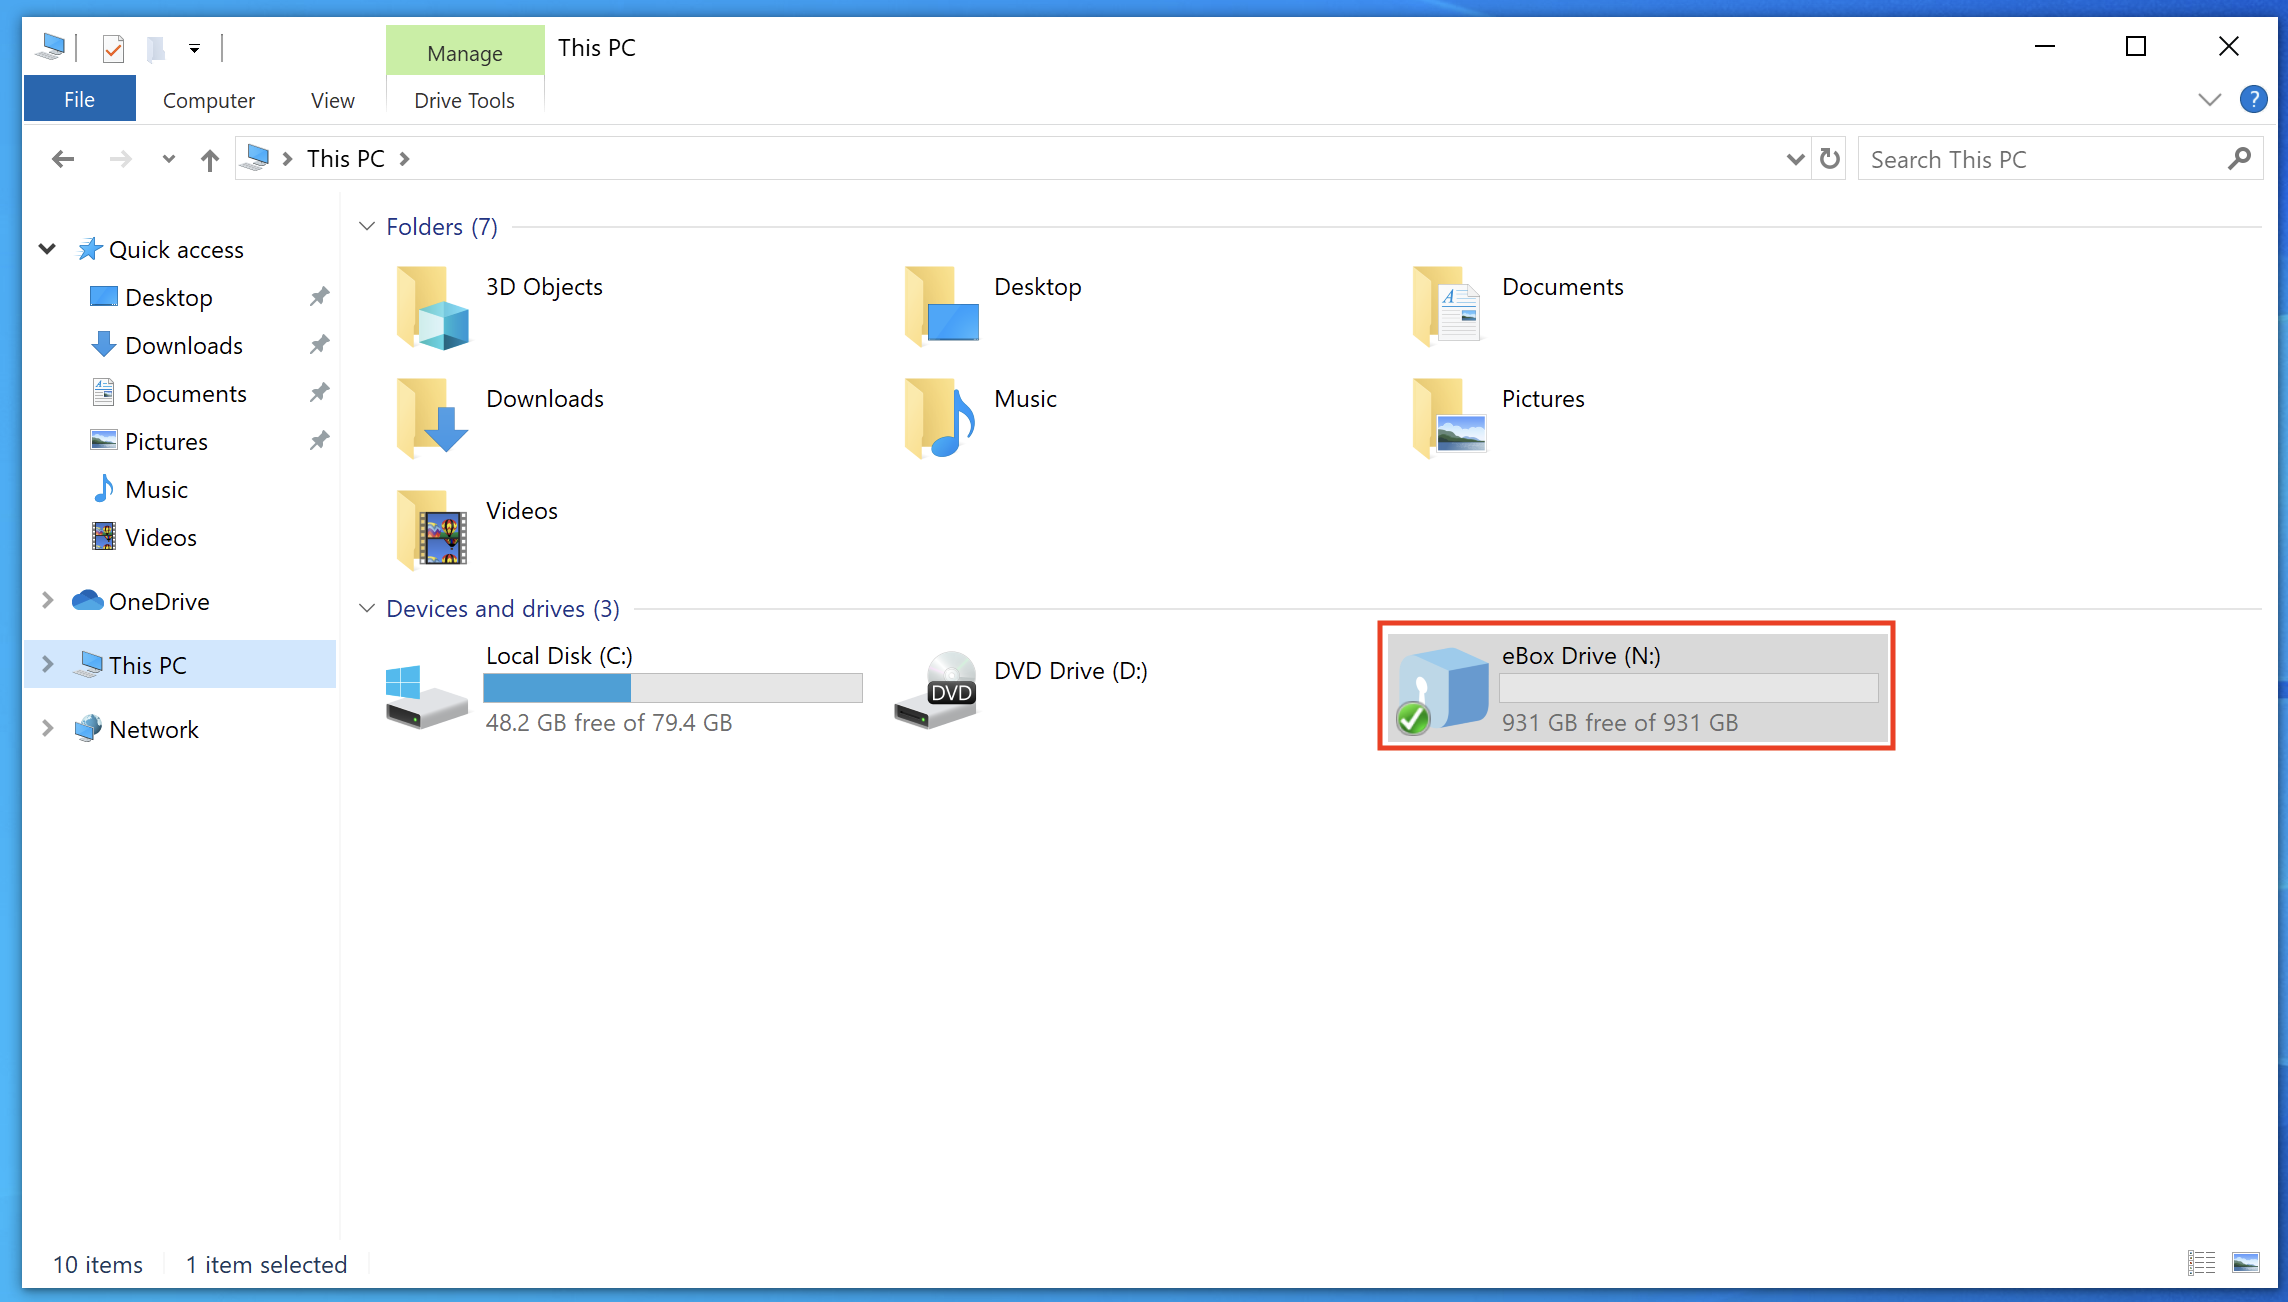
In a few moments, your eBox account shows up on your computer as eBox Drive (N:).
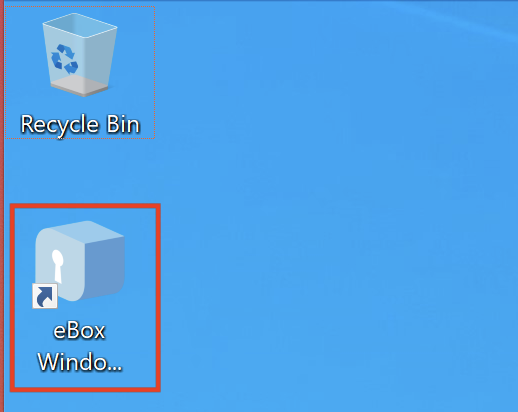
A shortcut is placed on your desktop:
You can also see the eBox Drive in File Explorer:
Files you use often are kept in your 10GB eBox Cache for quick access. You can open them even with no internet, which is handy for laptop users in the field. When you reconnect, your changes sync to our servers.