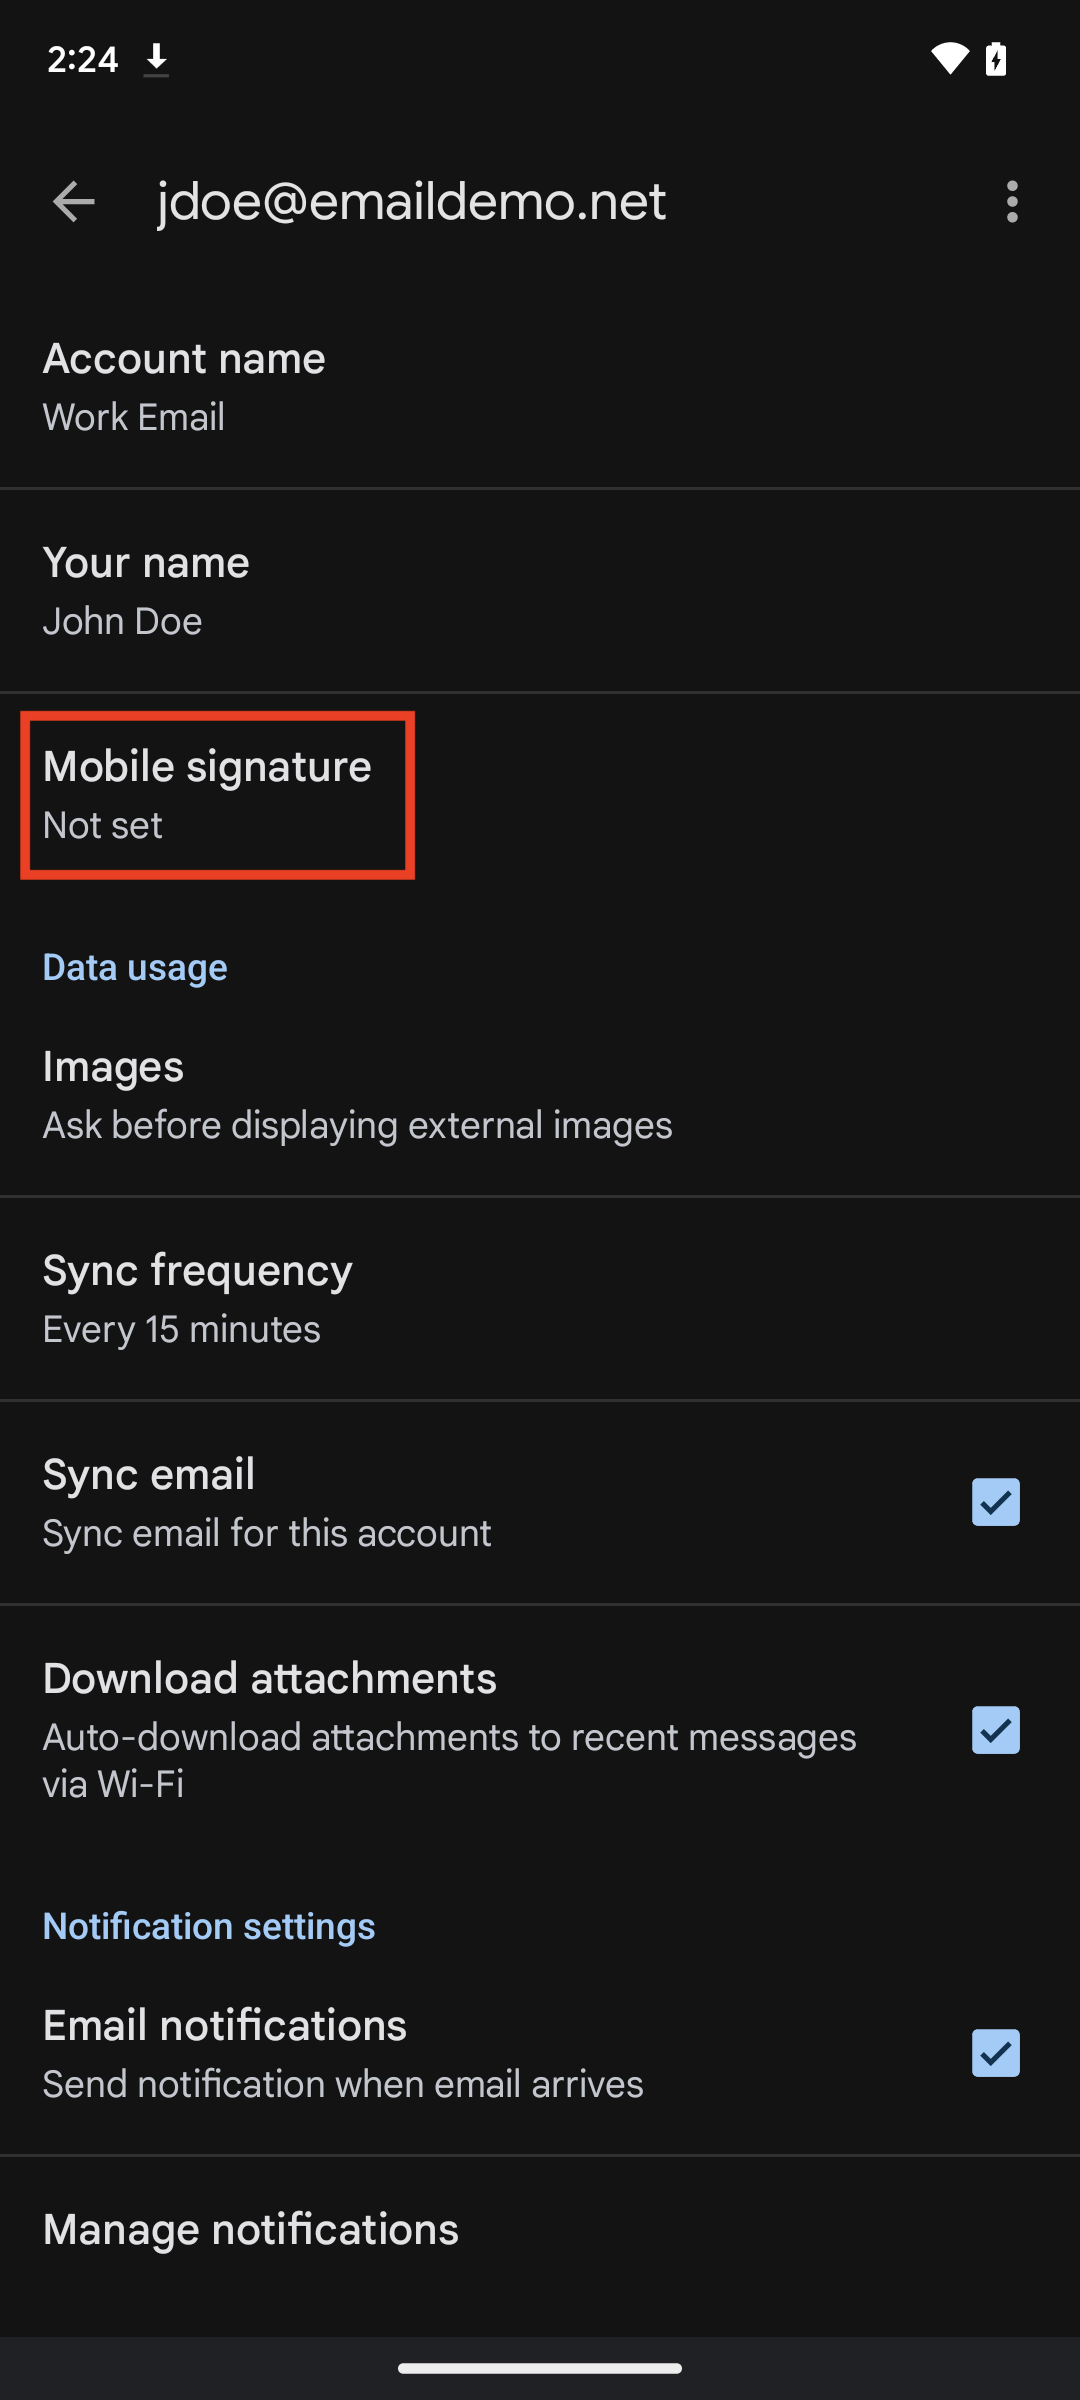
Email Setup on Google Pixel (Android 13)
Add your EnGuard IMAP email account to the Gmail app on a Google Pixel phone with Android 13.
If you have Mobile Sync enabled for your account, please use our Mobile Sync Setup on Google Pixel Phone (Android 13) guide.
Do not skip any steps, and do them in order. If you skip a step or leave one unfinished, the setup will likely fail.
You need your current email address and password to add your account to the Gmail app on your Pixel phone. We recommend setting up your email while your device is on Wi-Fi. If you are on 3G/4G/LTE/5G, make sure you have a strong connection and stay in one place.
The screenshots are for reference only. Please read the instructions at each step.
Part 1: Find your mail server address
You will use the mail server address for both incoming mail server and outgoing mail server settings when adding your email account to a Pixel phone.
Step 1: Open webmail in your browser
Open a web browser on your computer and type webmail.yourdomain.com in the address bar. Replace yourdomain.com with your own domain name.
For example, if your email address is bob@xyzhealth.com, you would type in webmail.xyzhealth.com
Type it in the address bar at the top of the browser, not in a search box (Google, Bing, Yahoo and so on). Do not type http:// or https:// in front of it.
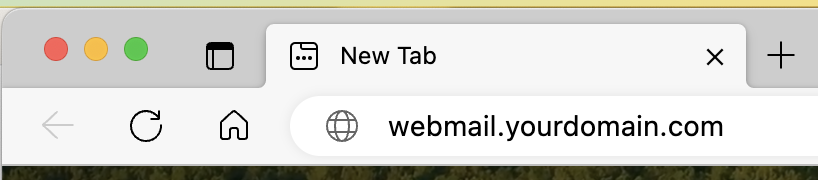
Step 2: Find your mail server address
You will be sent to your mail server automatically.
Your mail server address is the first portion of the URL.
In this example, the mail server address is: mail.enguard.com

Step 3: Write it down
Write down your mail server address. You will need it for the steps below.
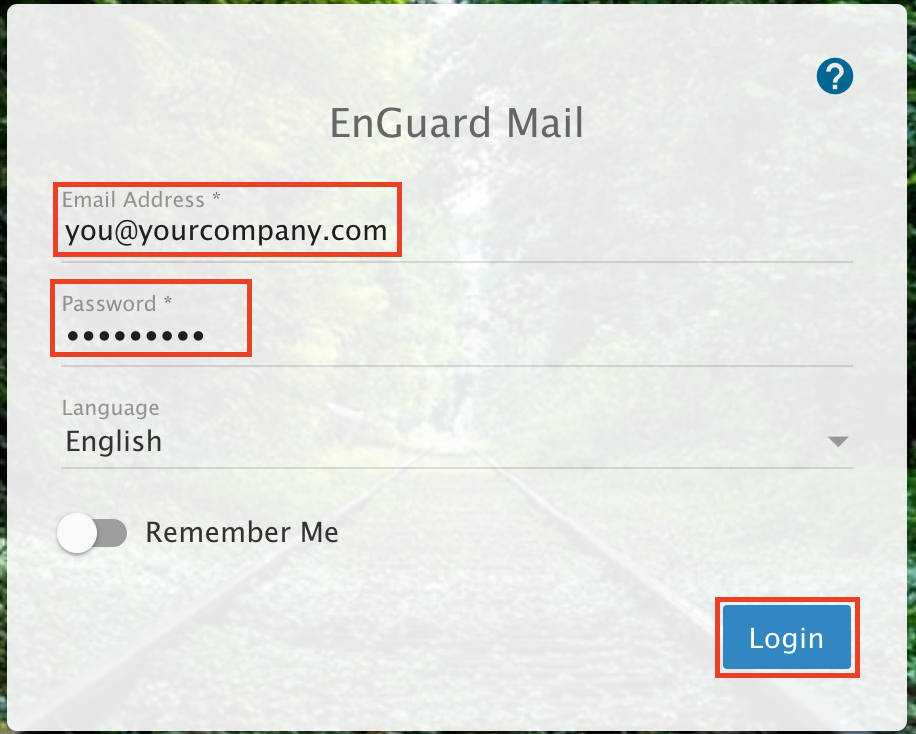
Step 4: Test your login
Check that your email address and password work by logging in to webmail.
If you cannot log in, ask your administrator for the correct login.
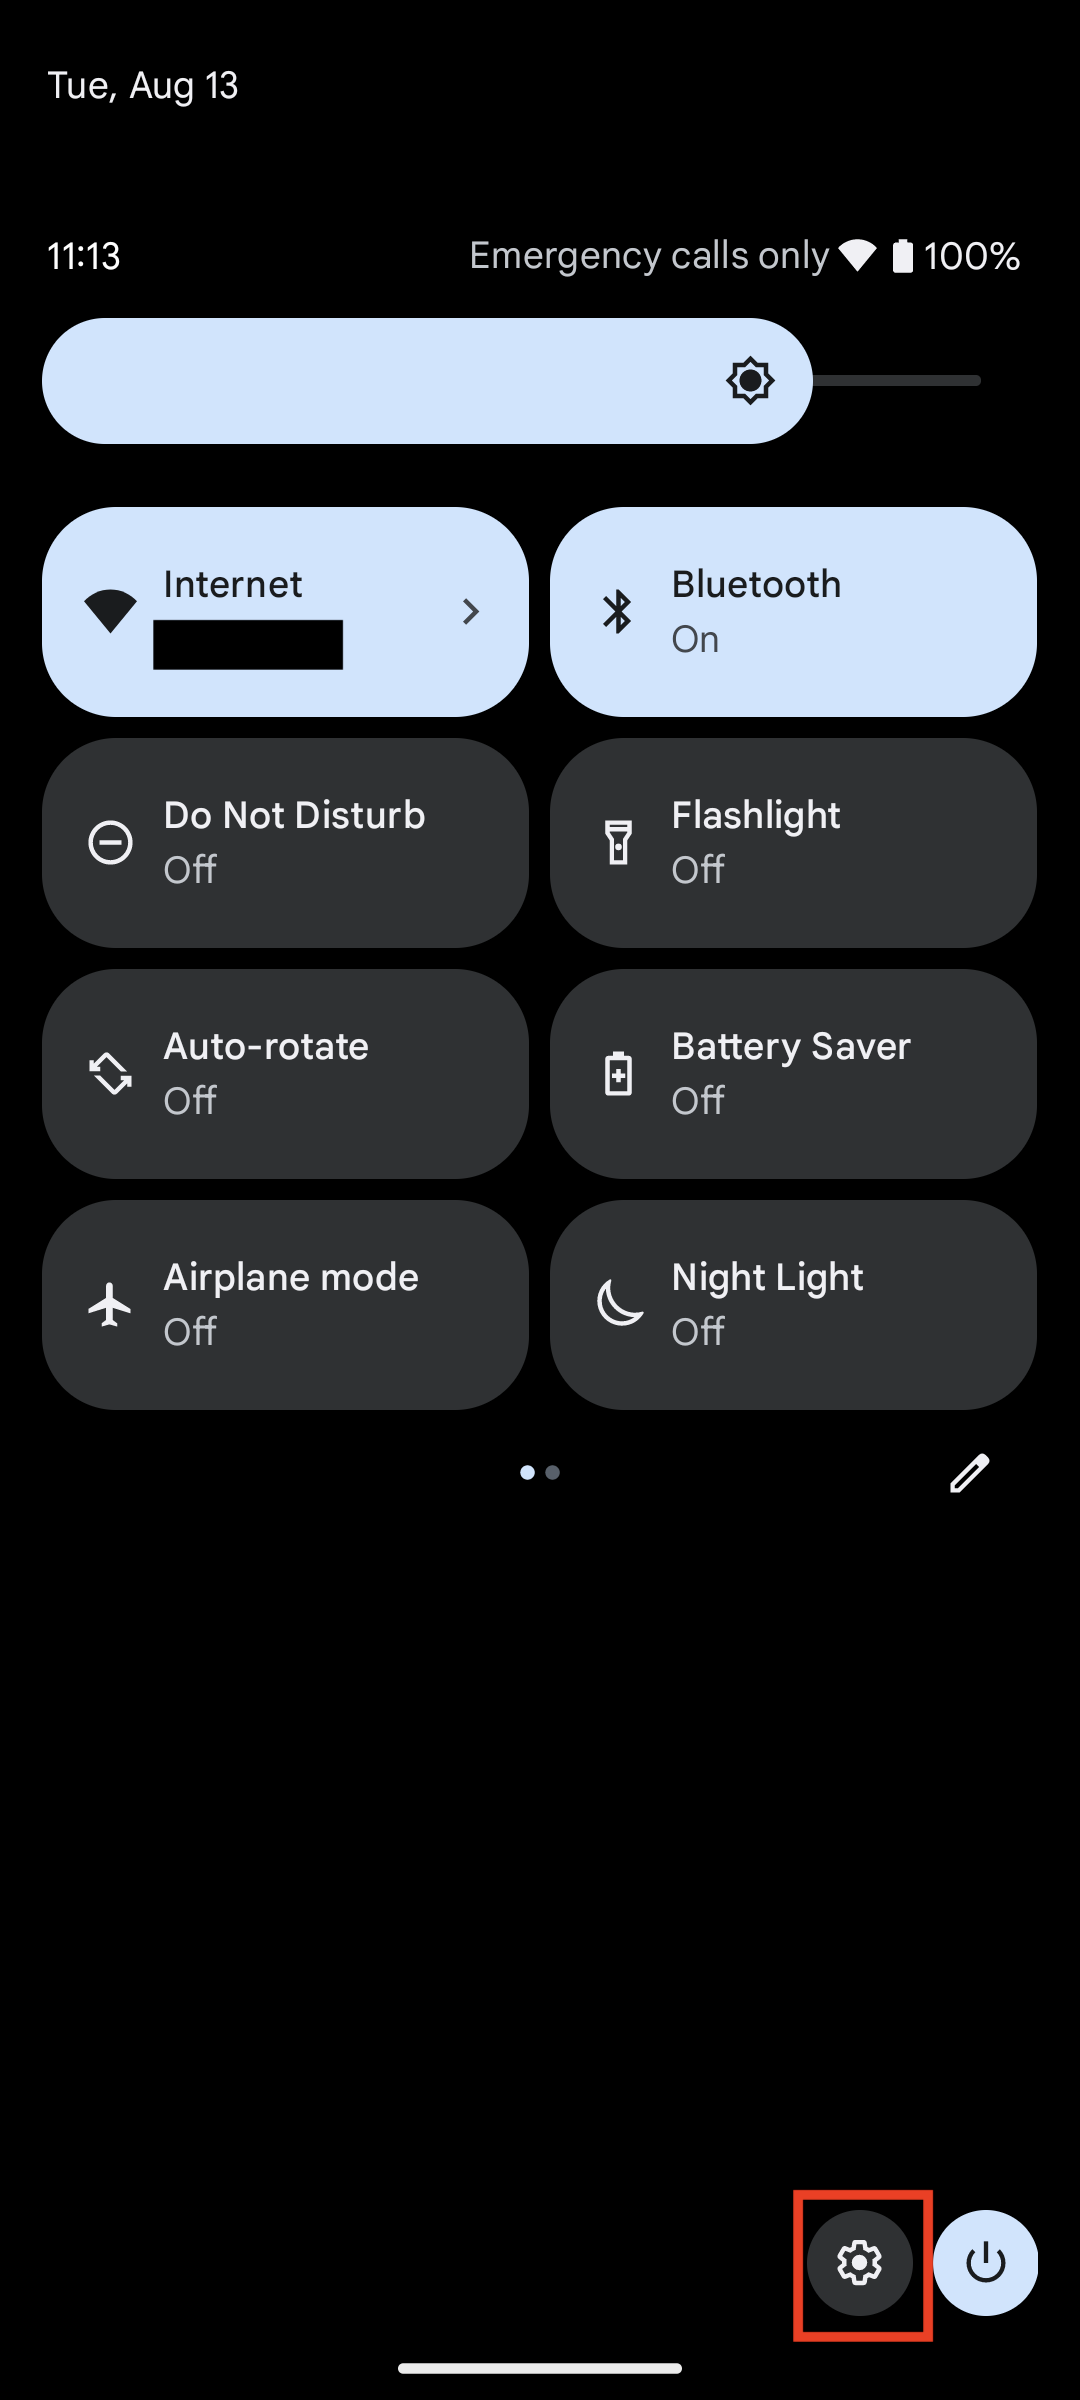
Step 5: With two fingers, swipe from the middle top down
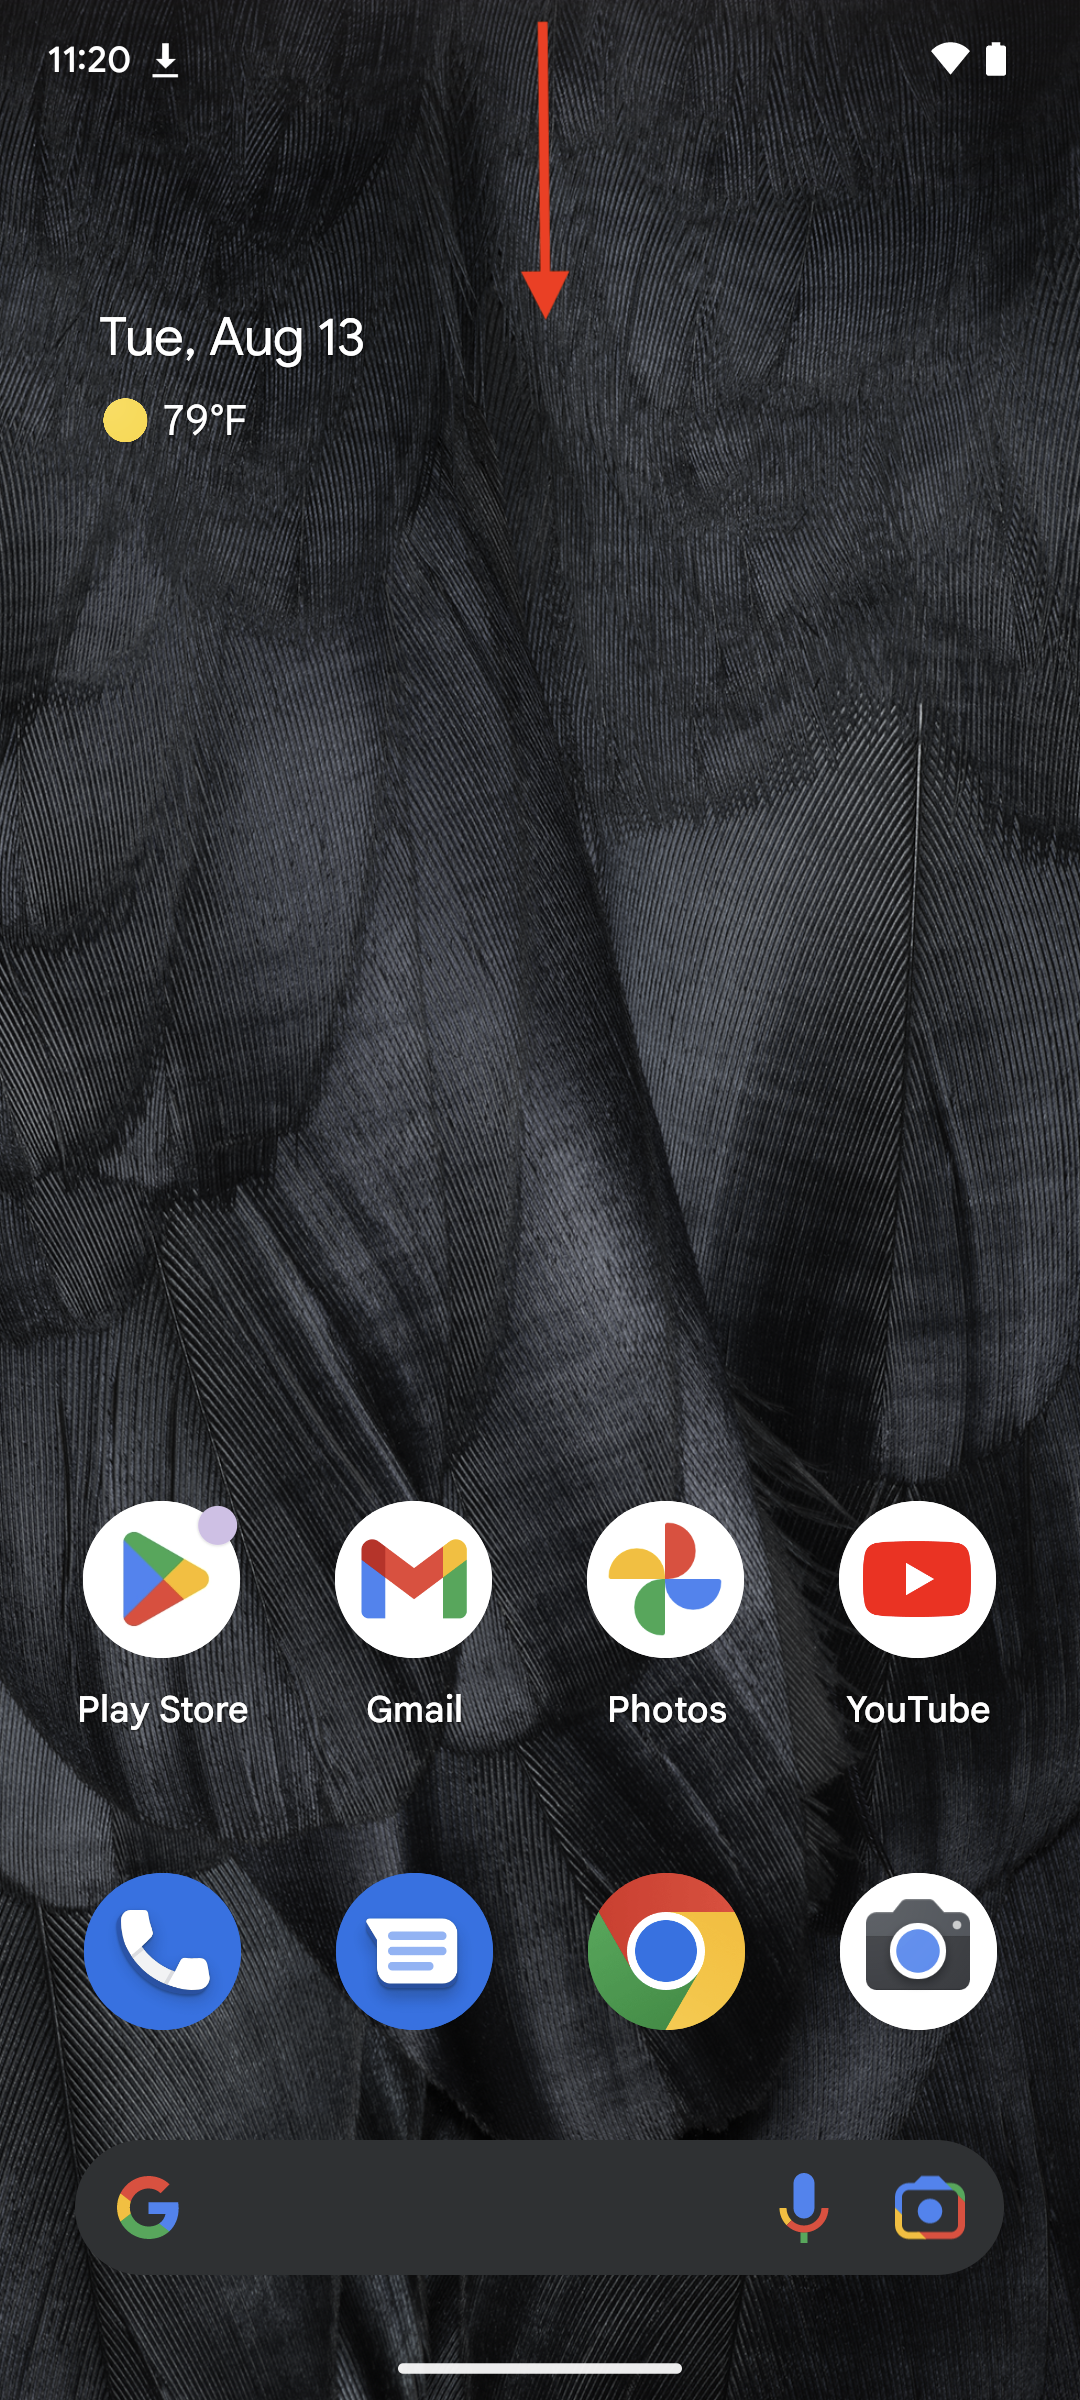
Step 6: Touch Settings
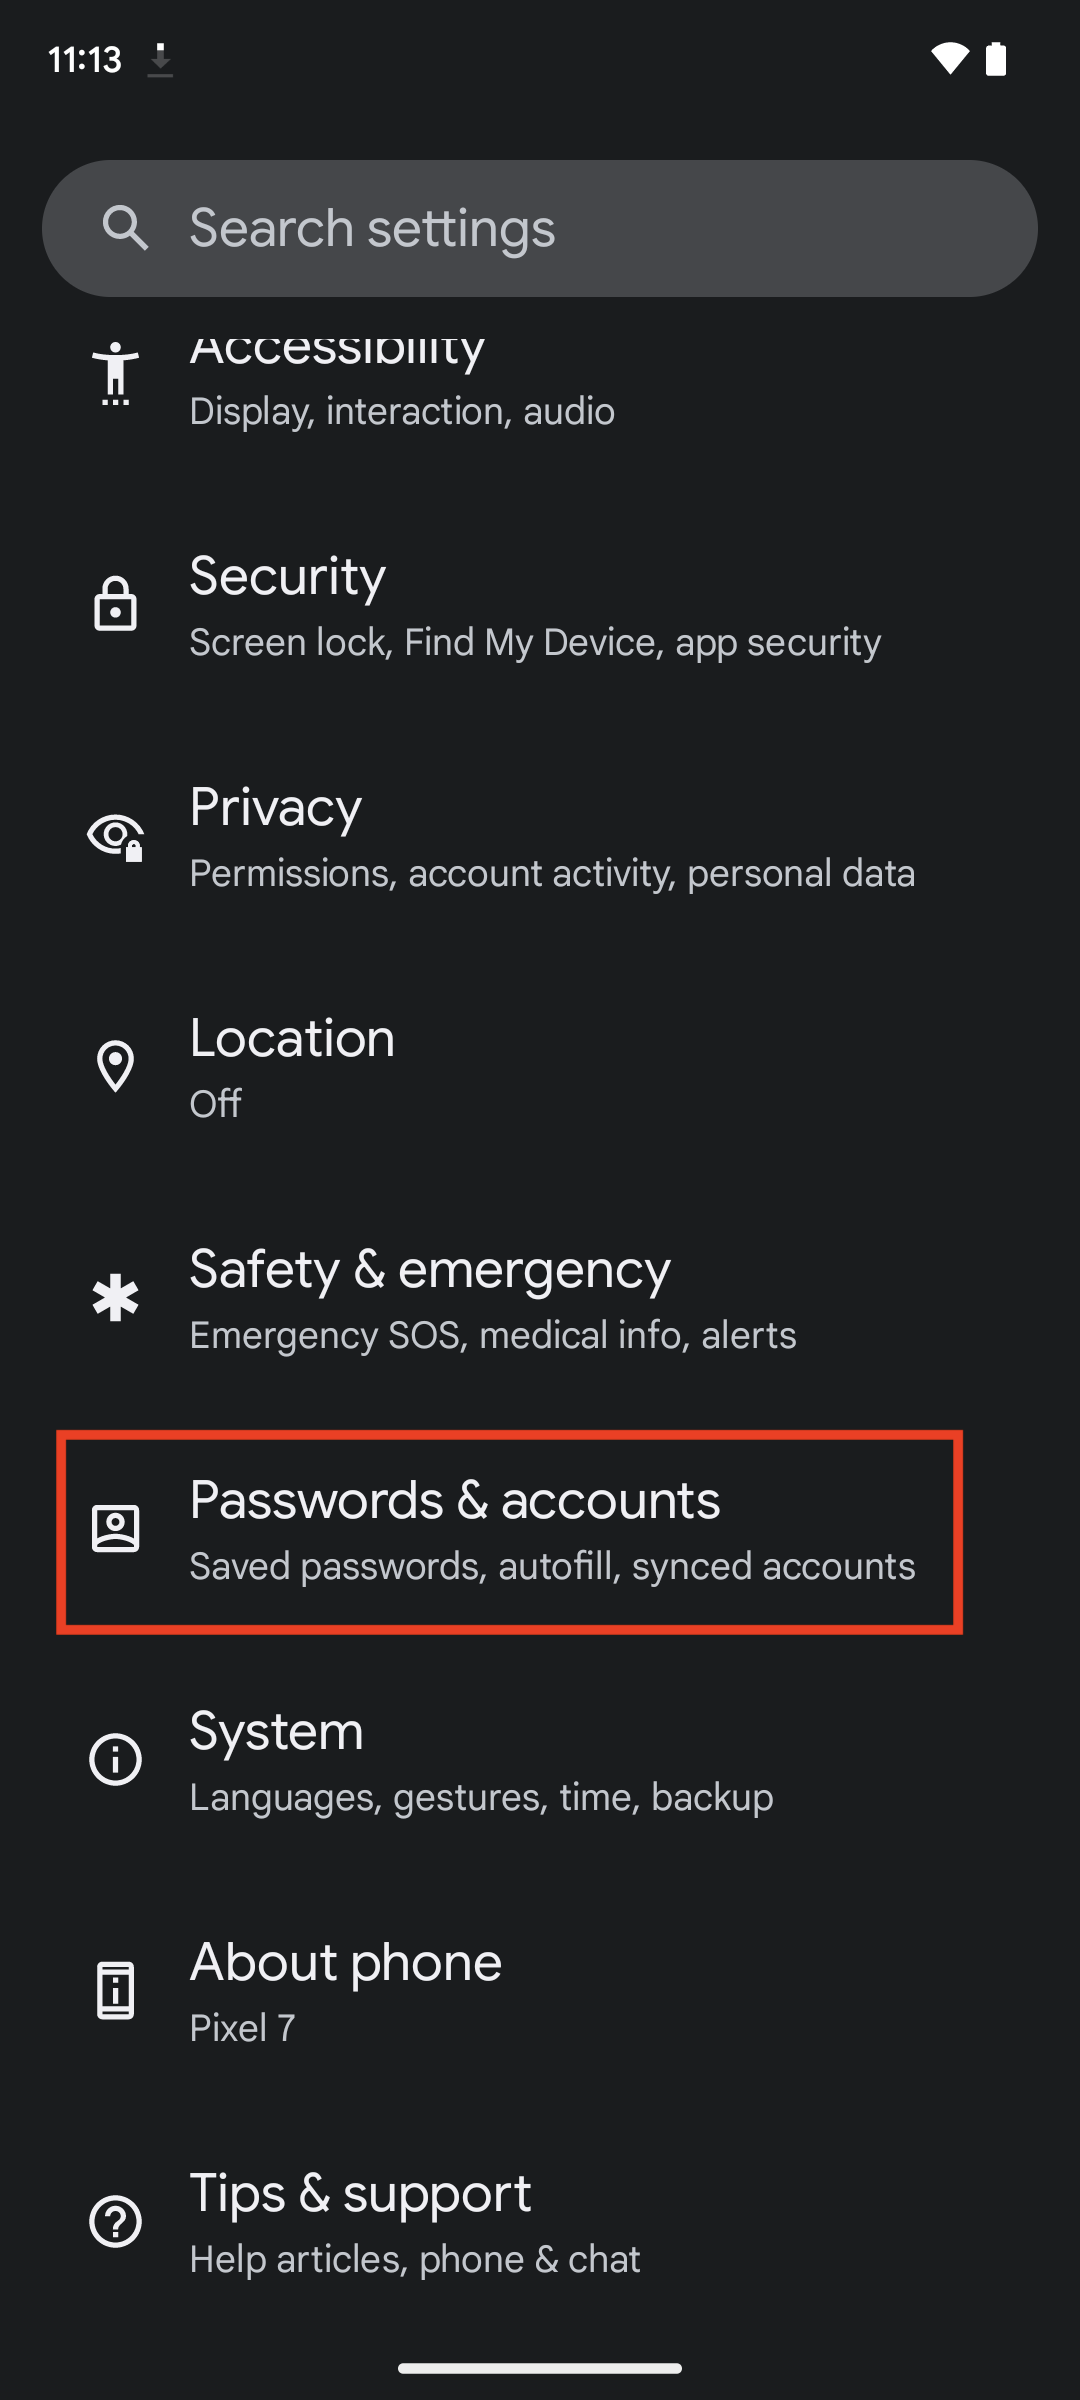
Step 7: Touch Passwords & accounts
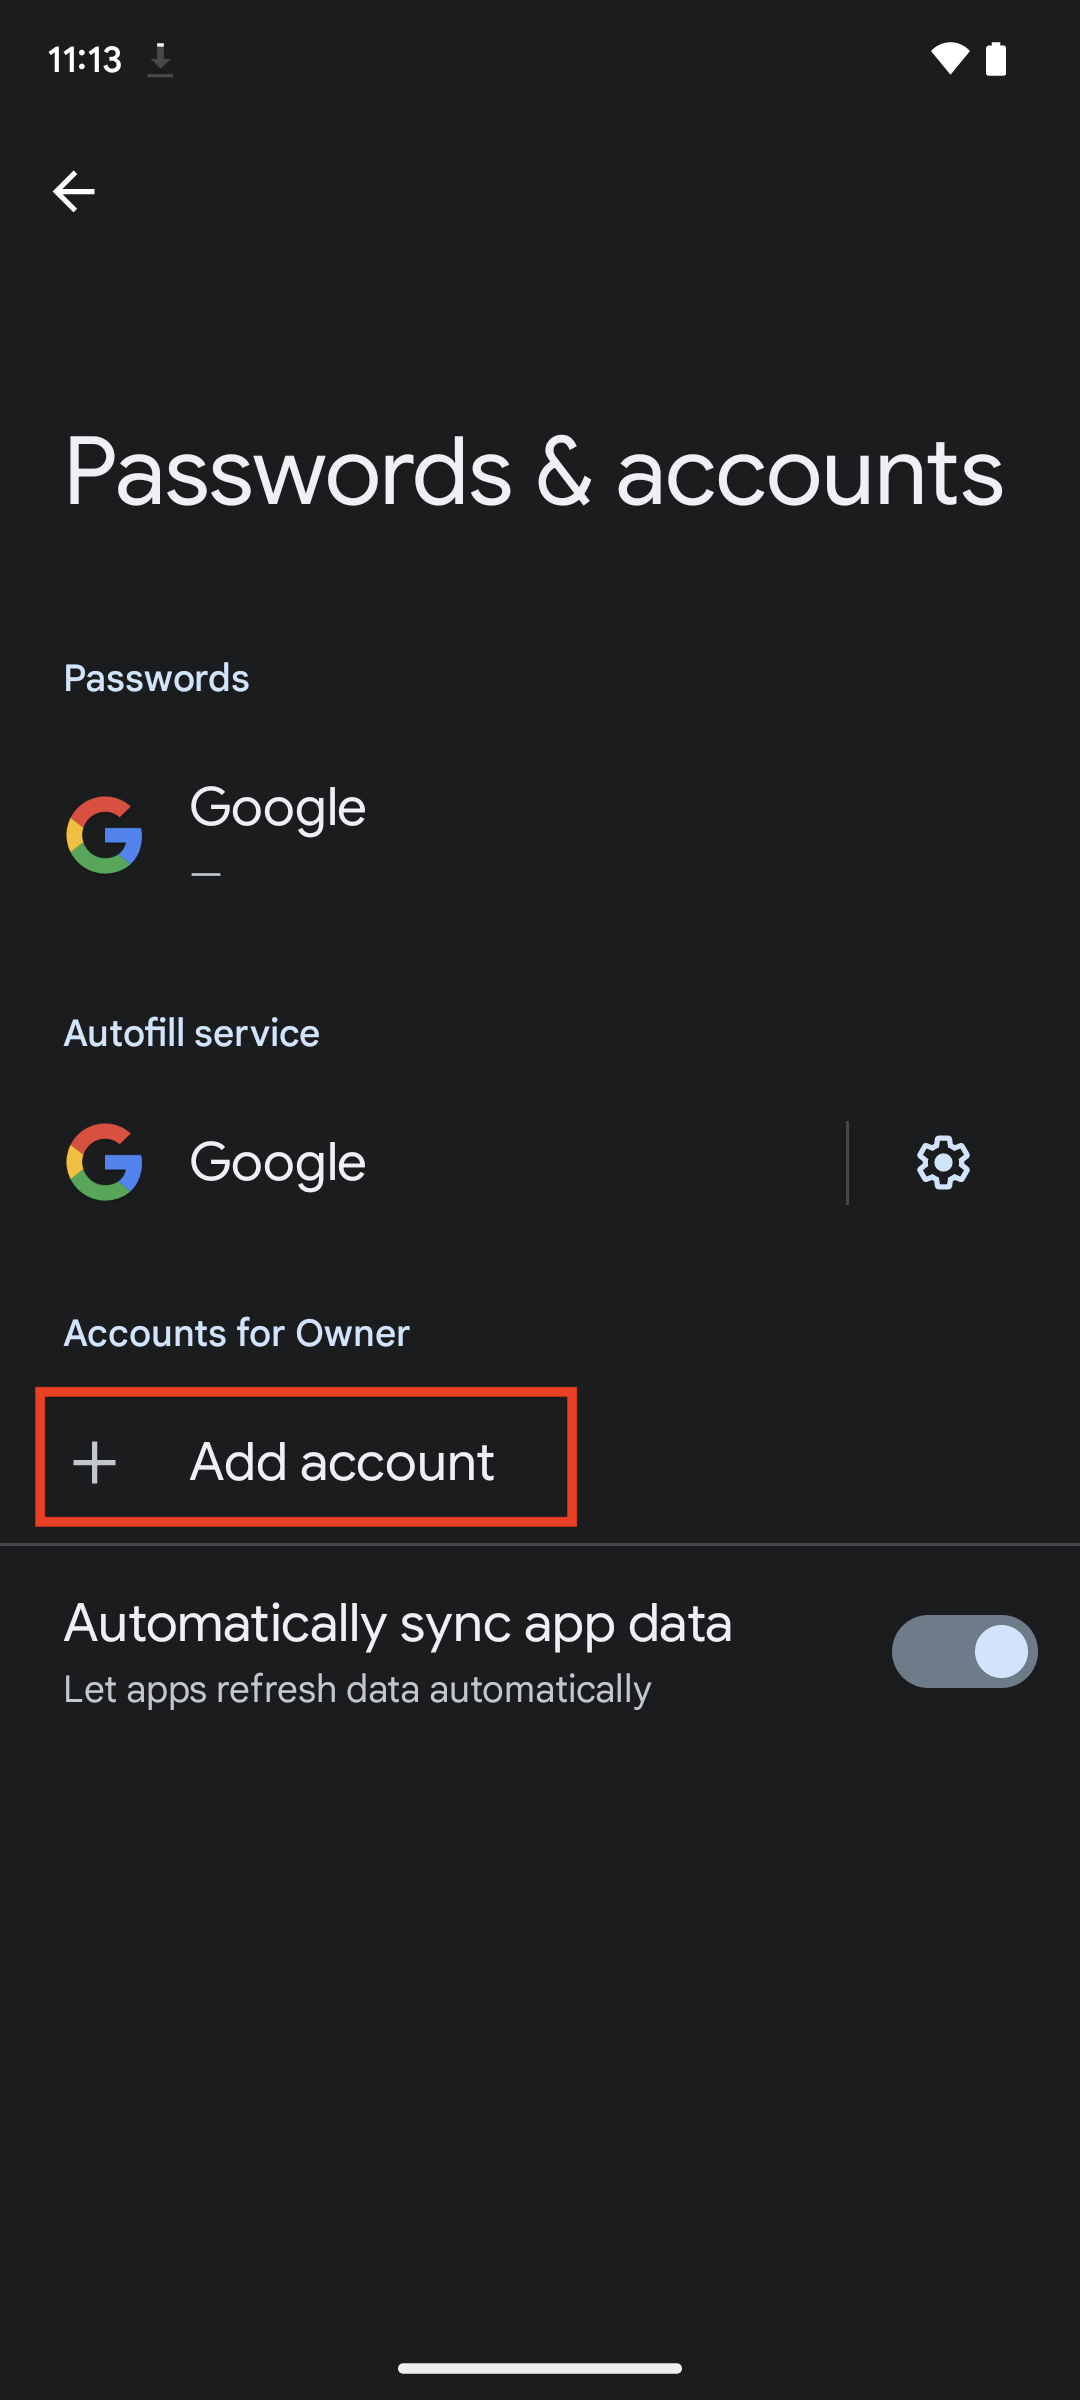
Step 8: Touch + Add account
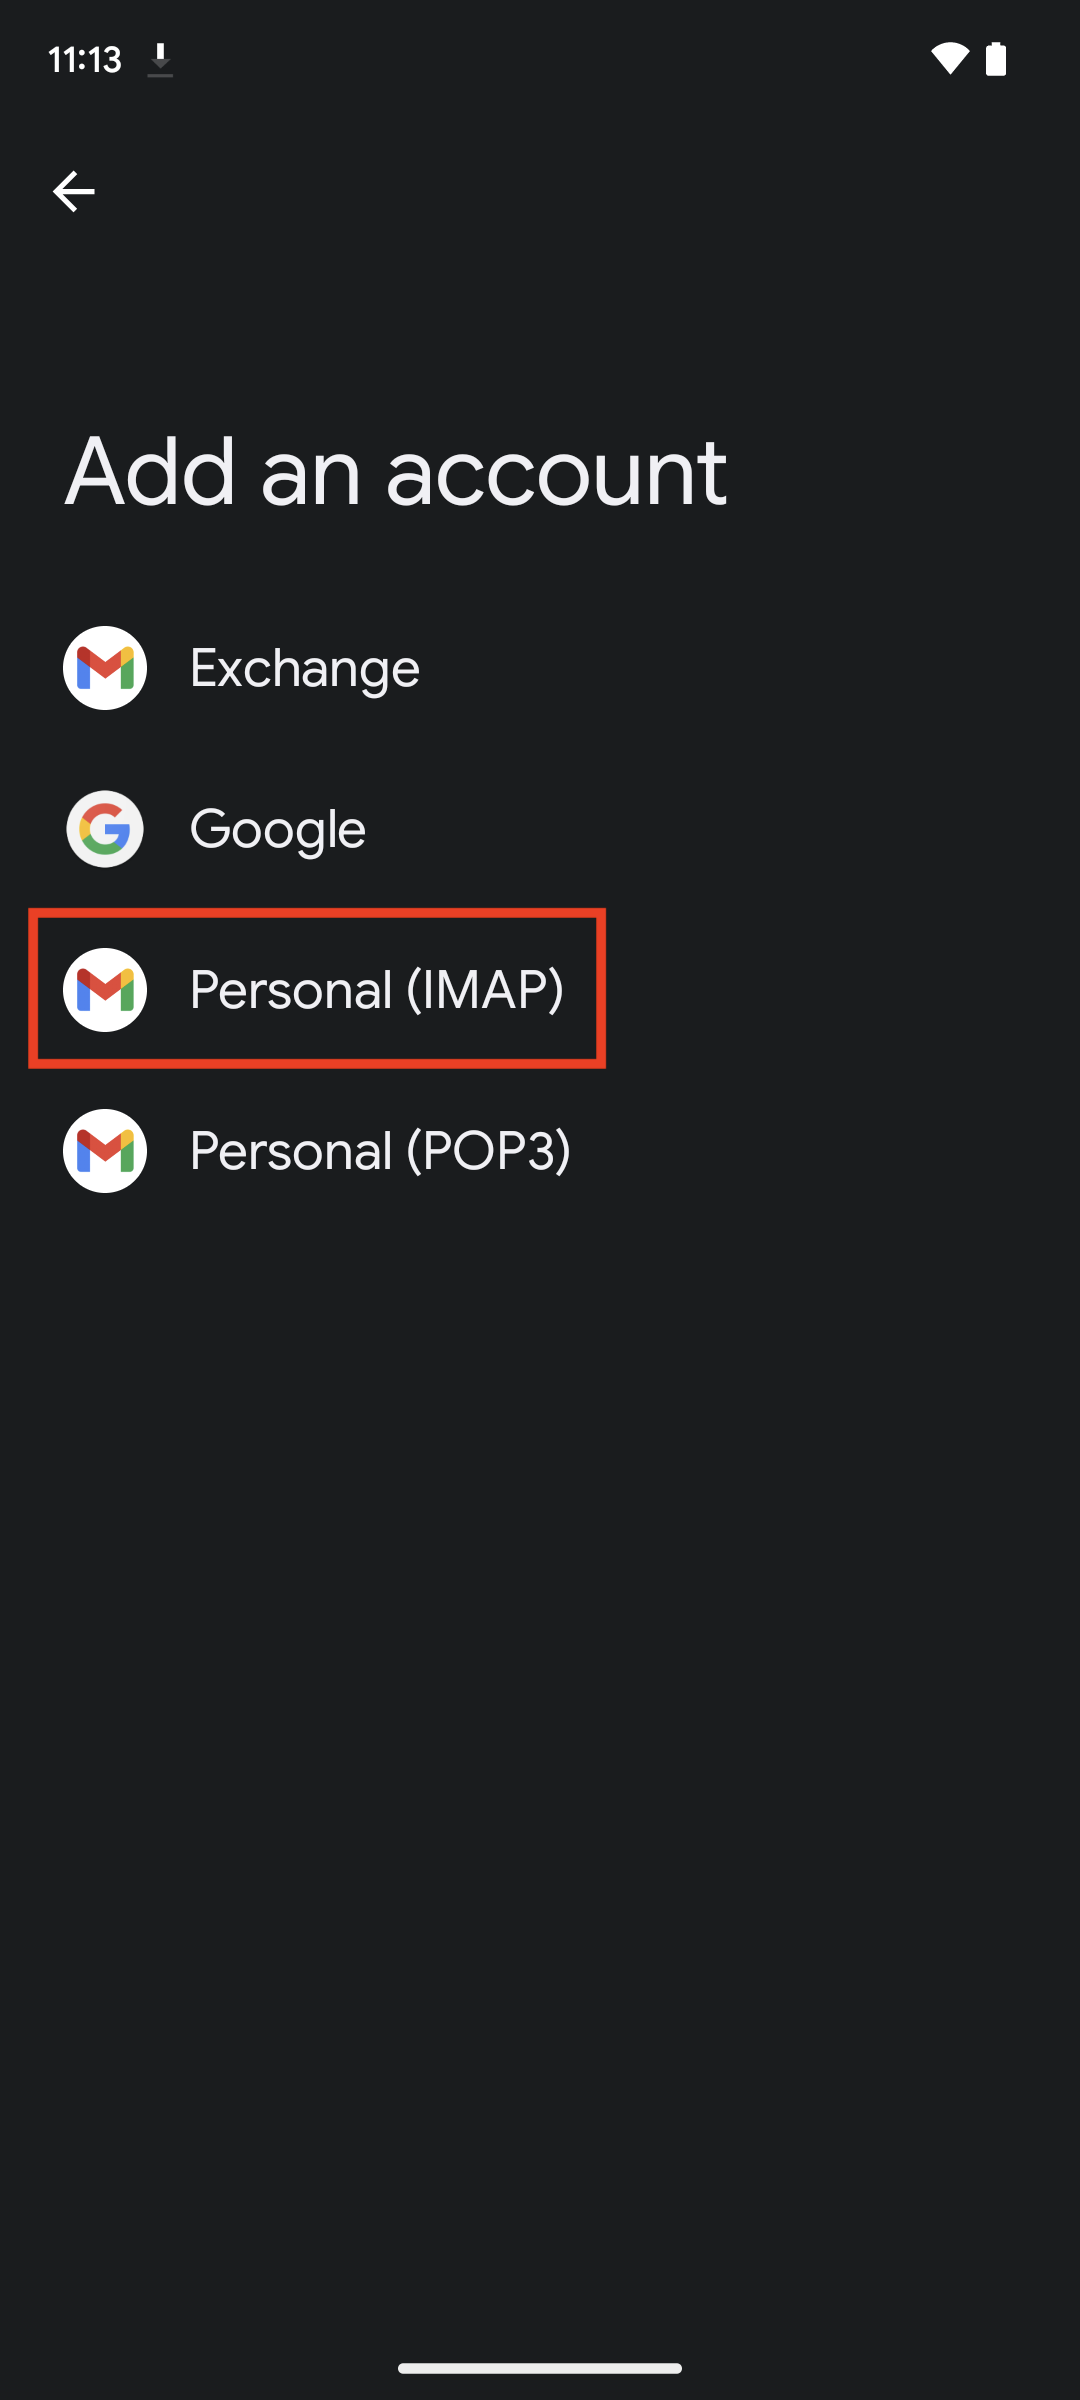
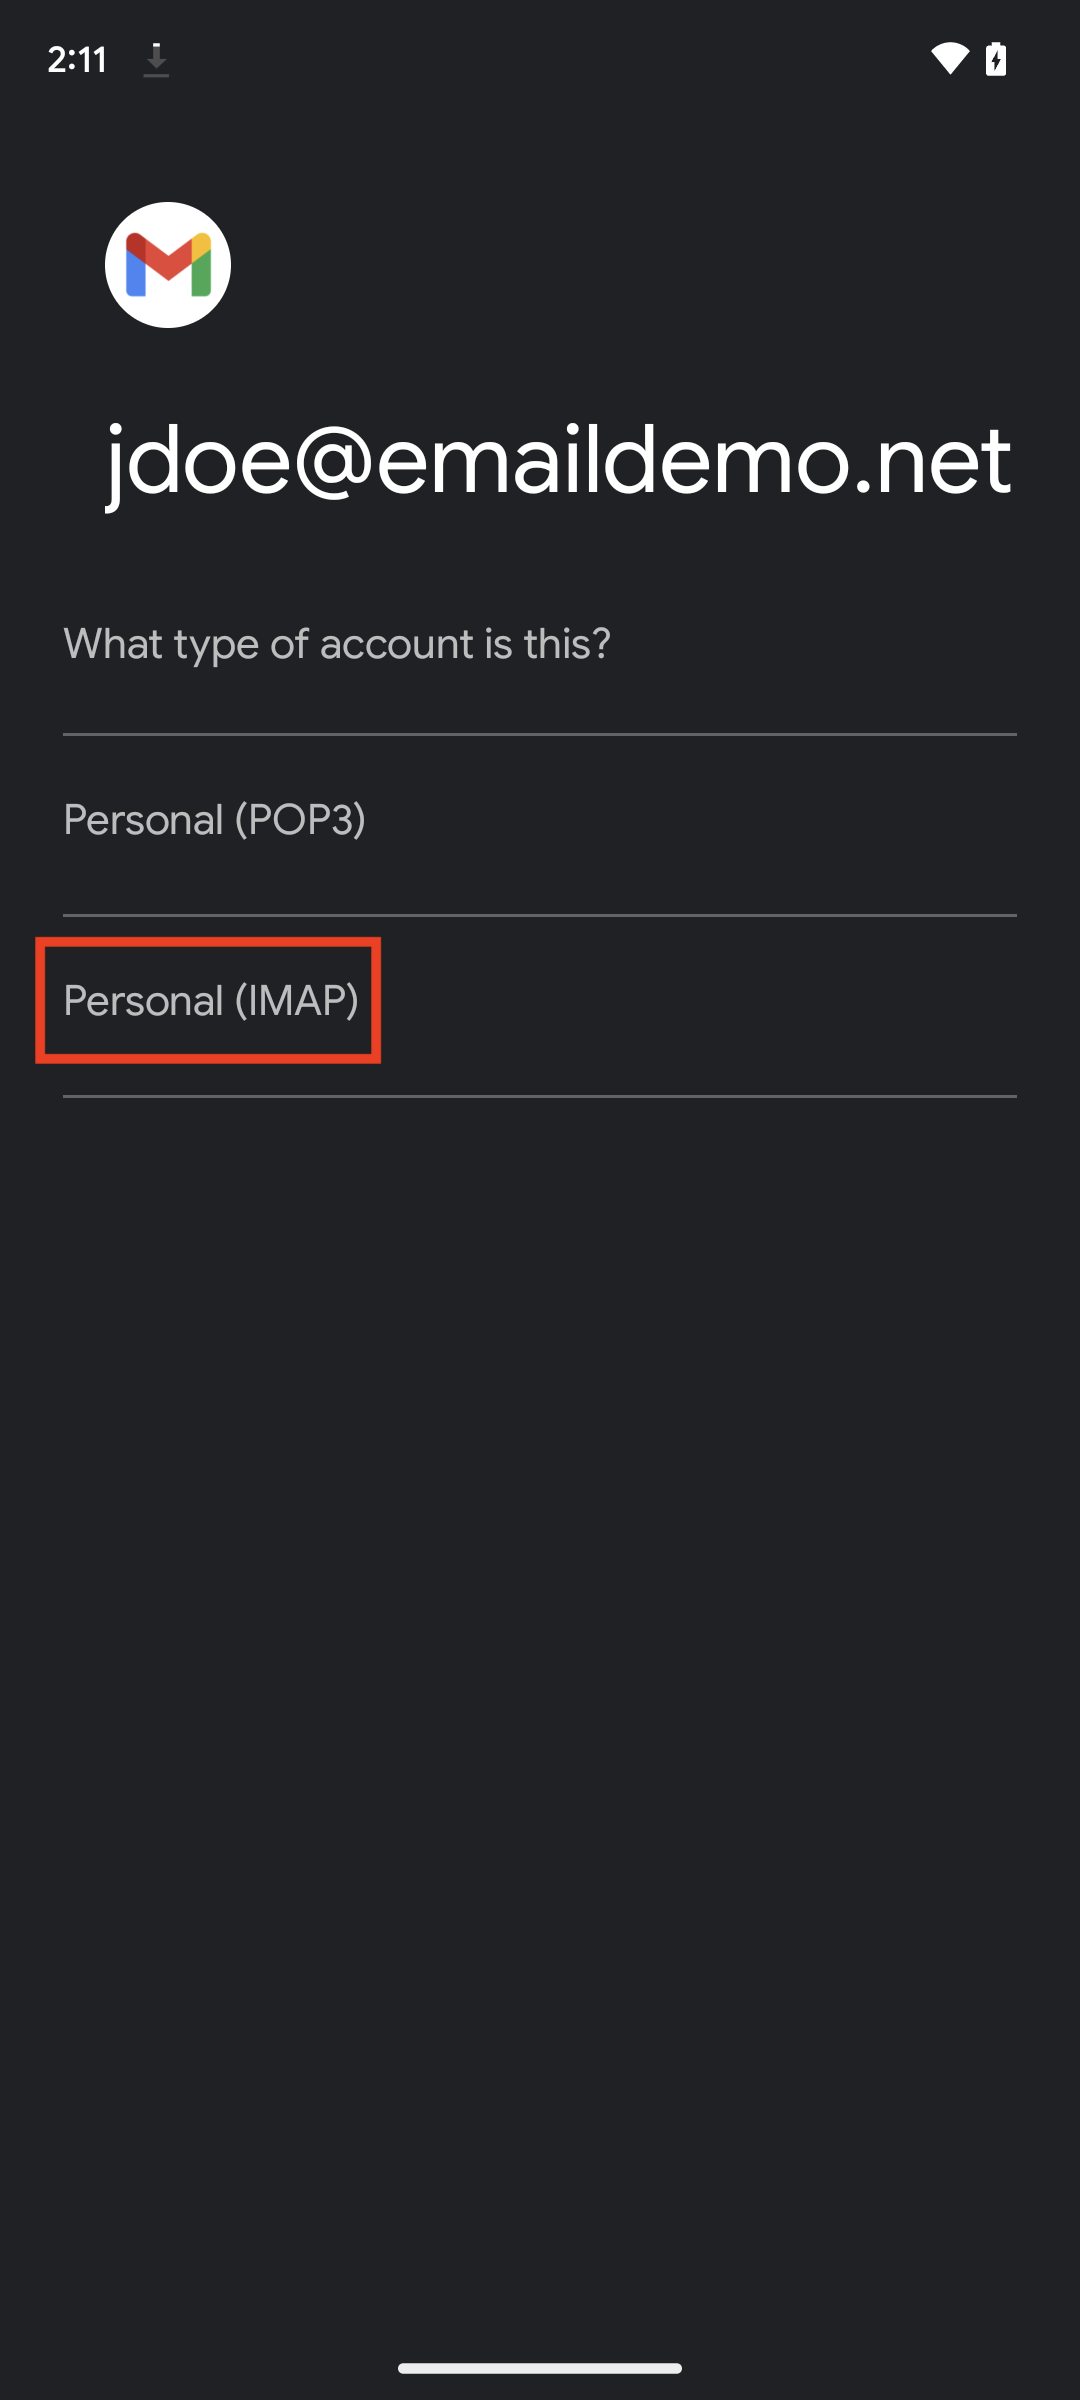
Step 9: Touch Personal (IMAP)
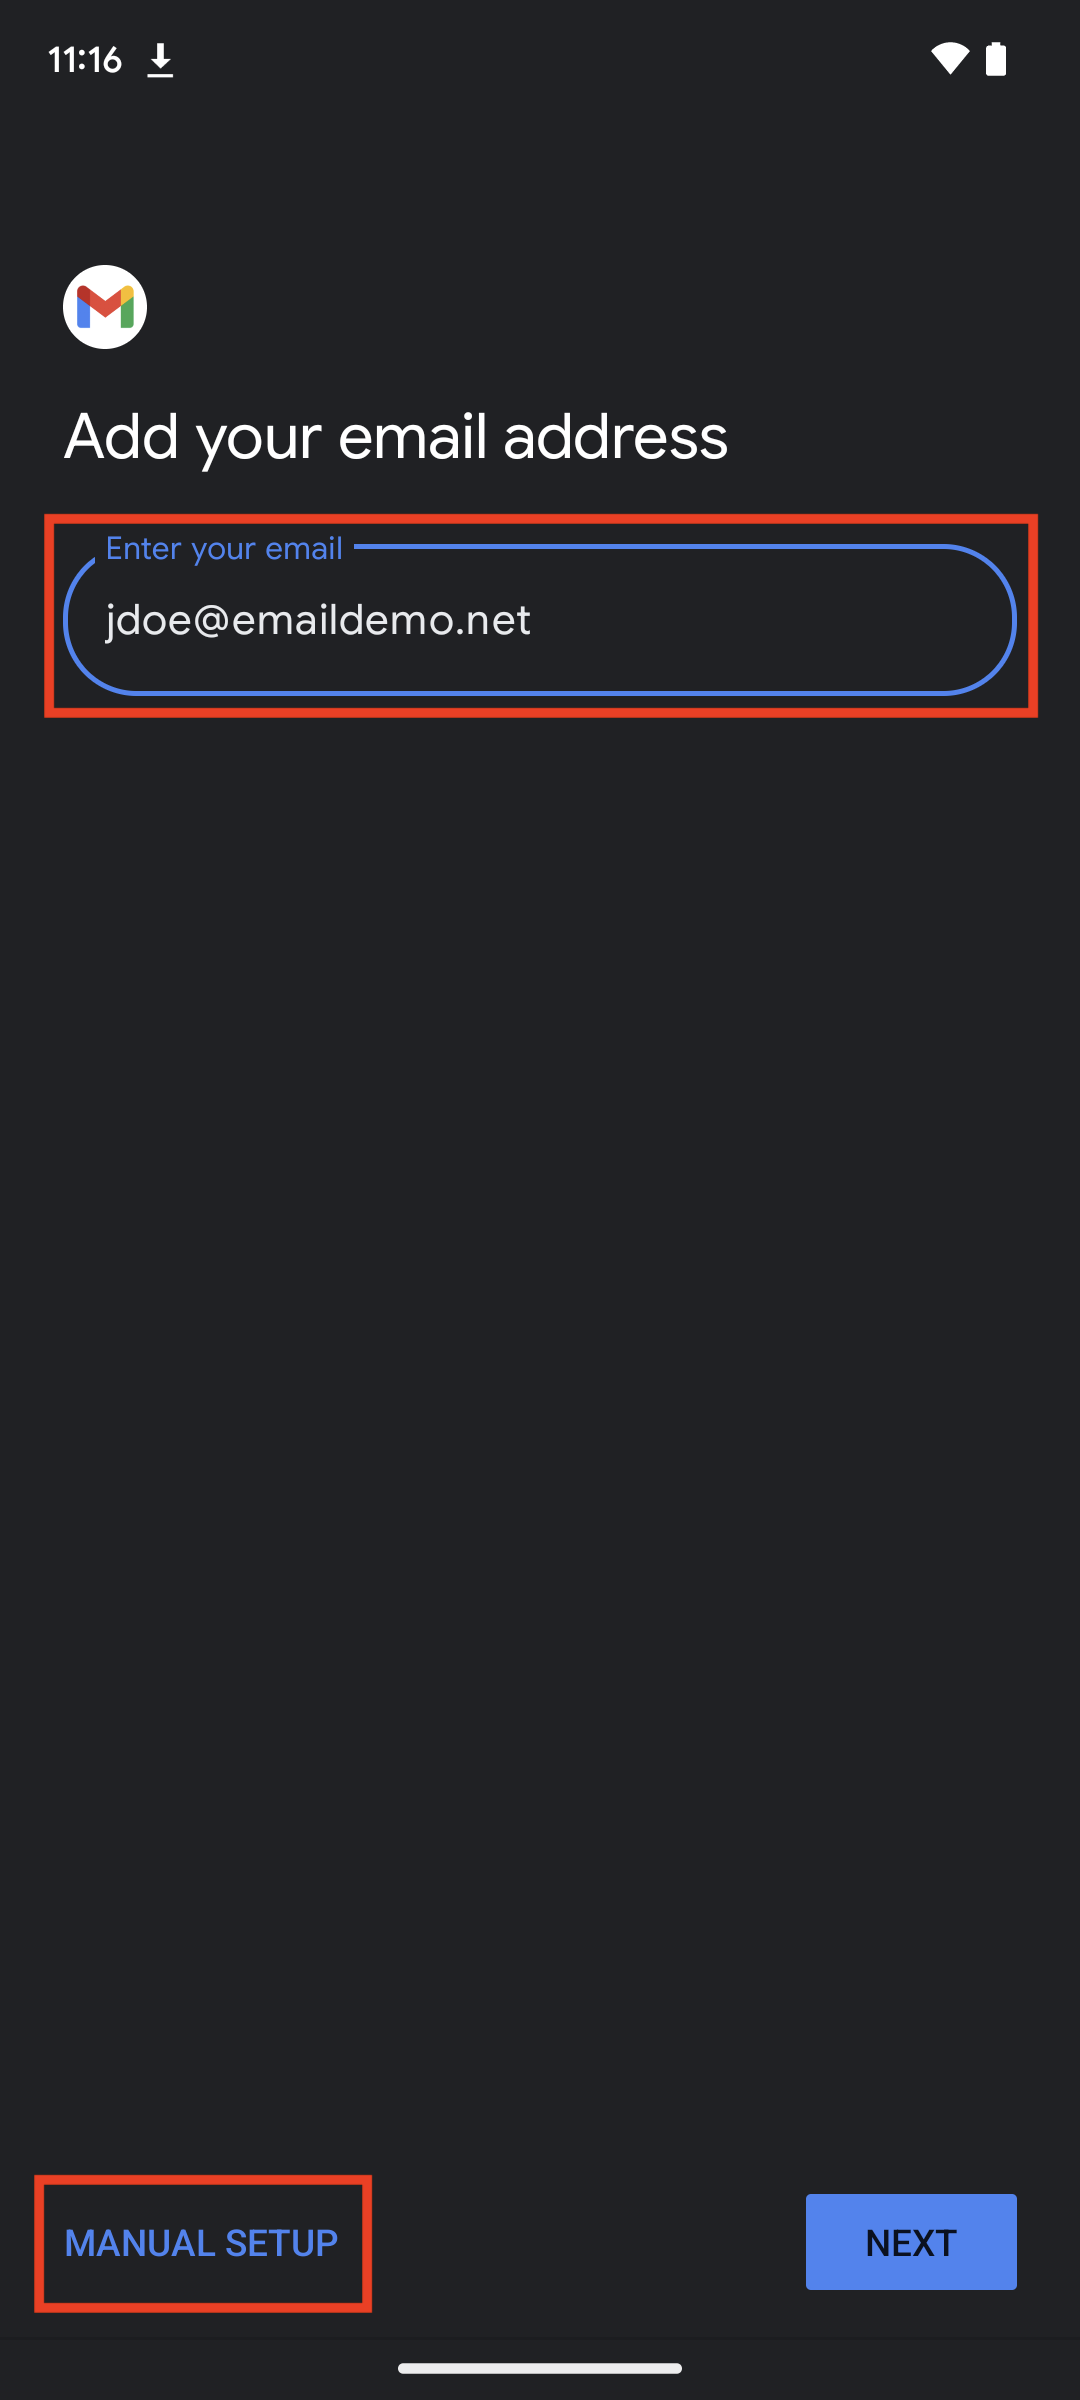
Step 10: Enter your email address
Touch Manual Setup
Step 11: Touch Personal (IMAP)
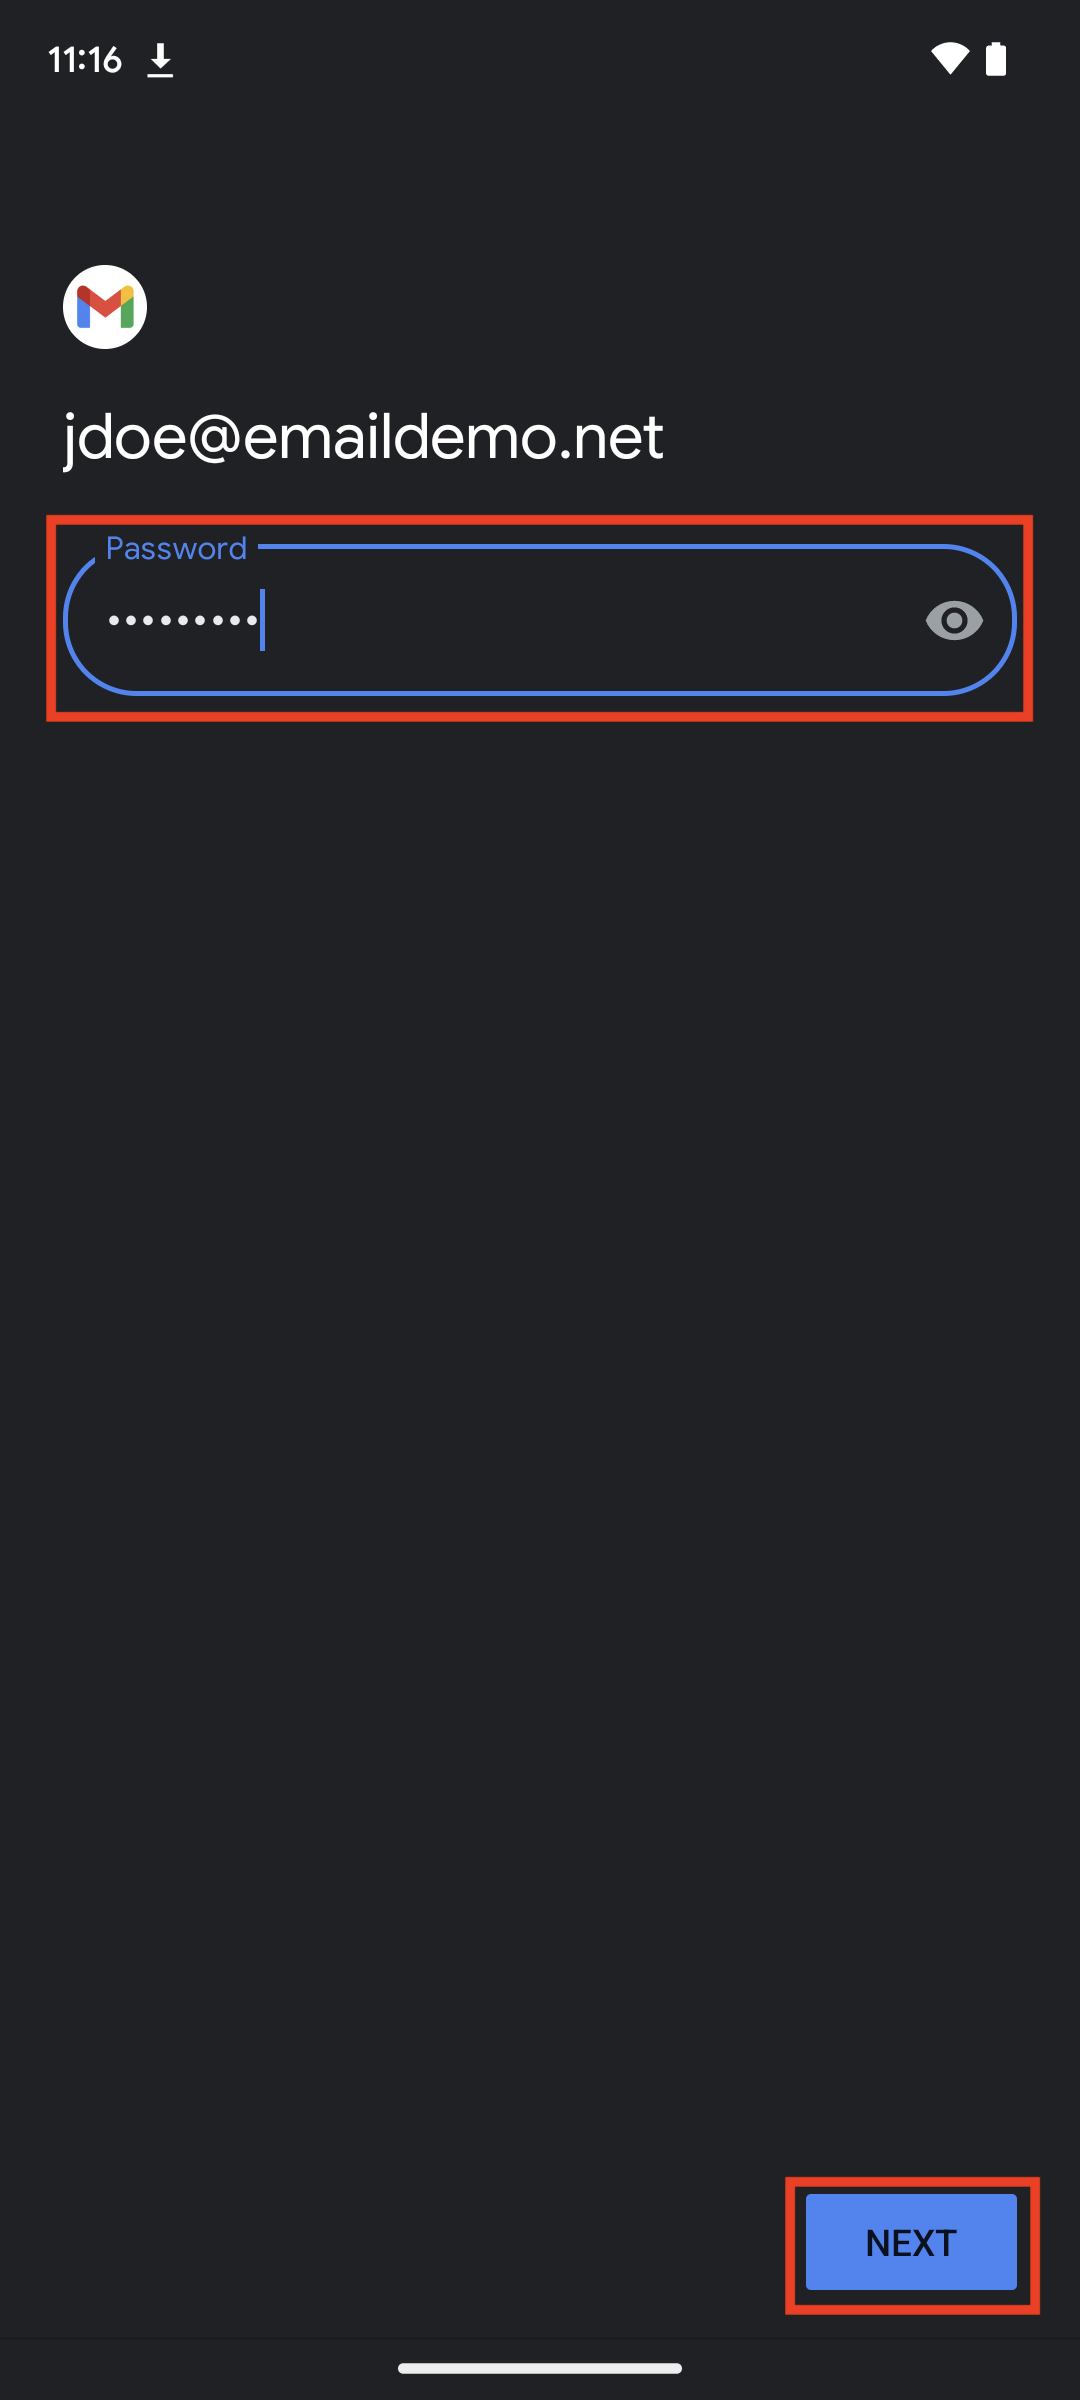
Step 12: Enter your password
Touch Next
Step 13: Enter your mail server address
Touch Next
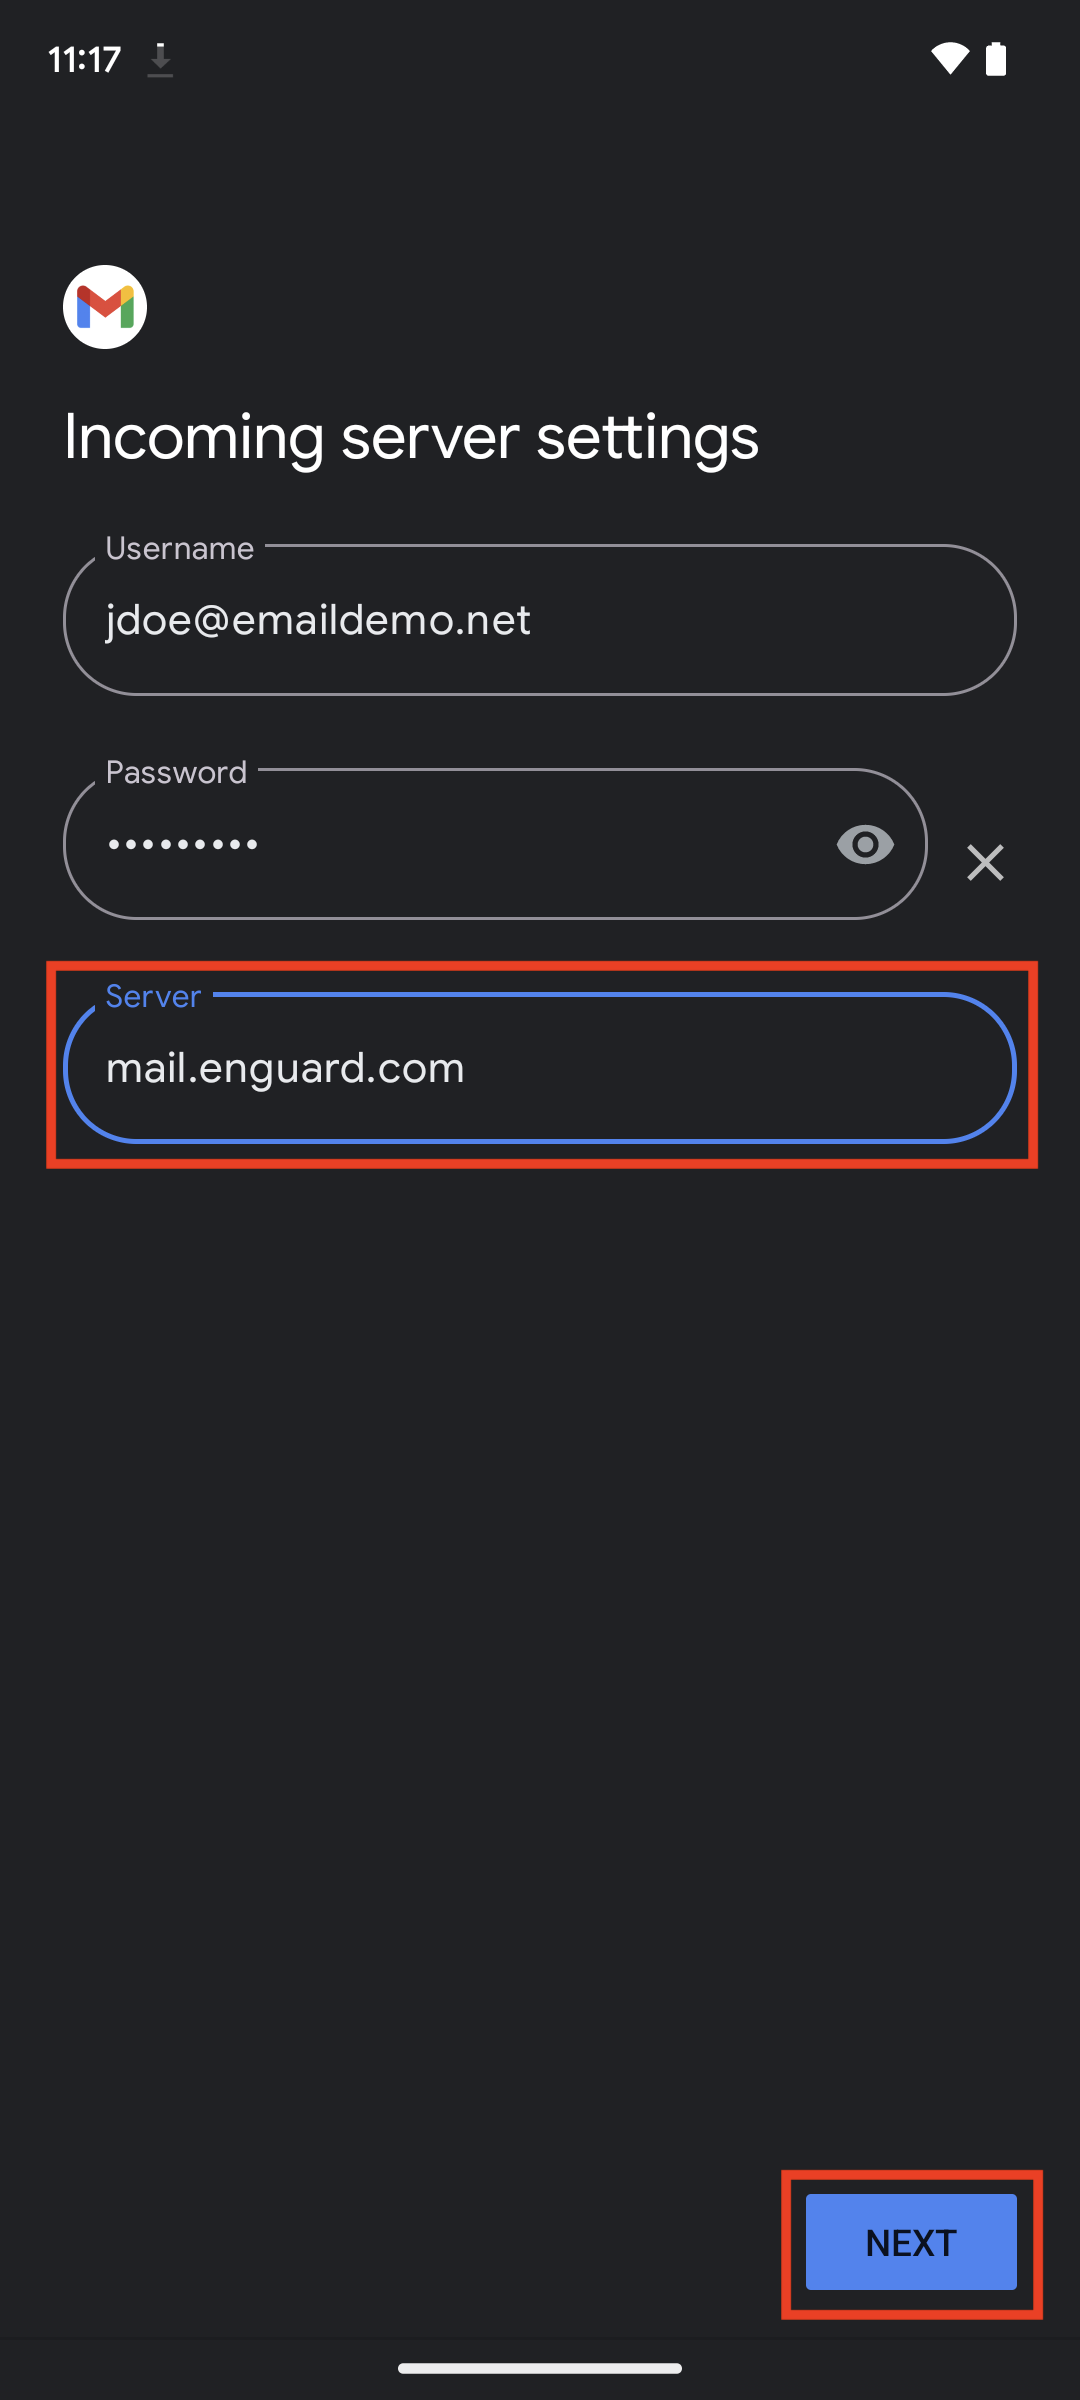
Step 14: Enter your mail server address
Touch Next
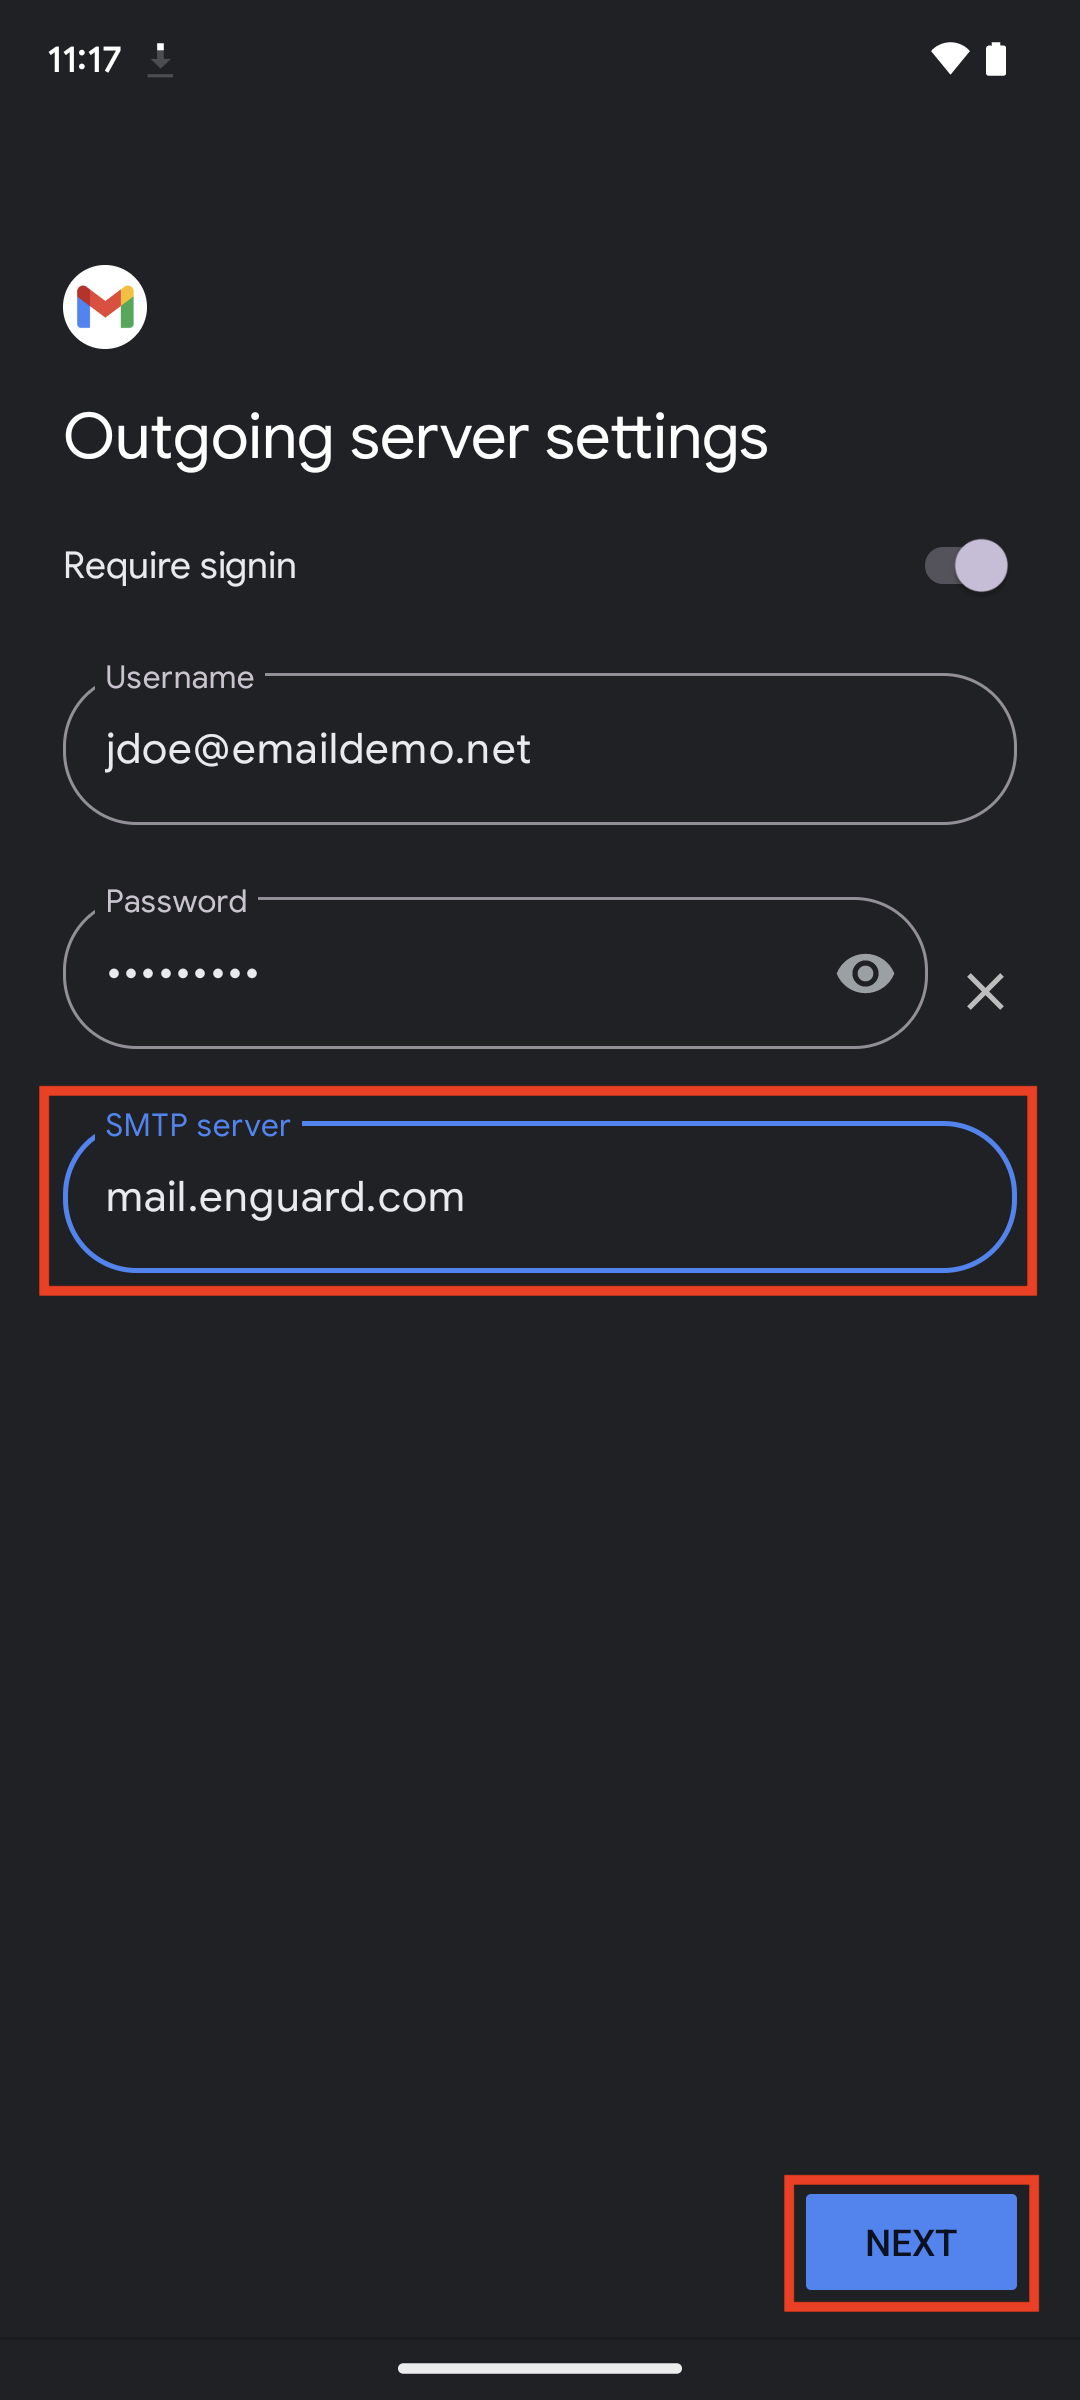
Step 15: Touch Next
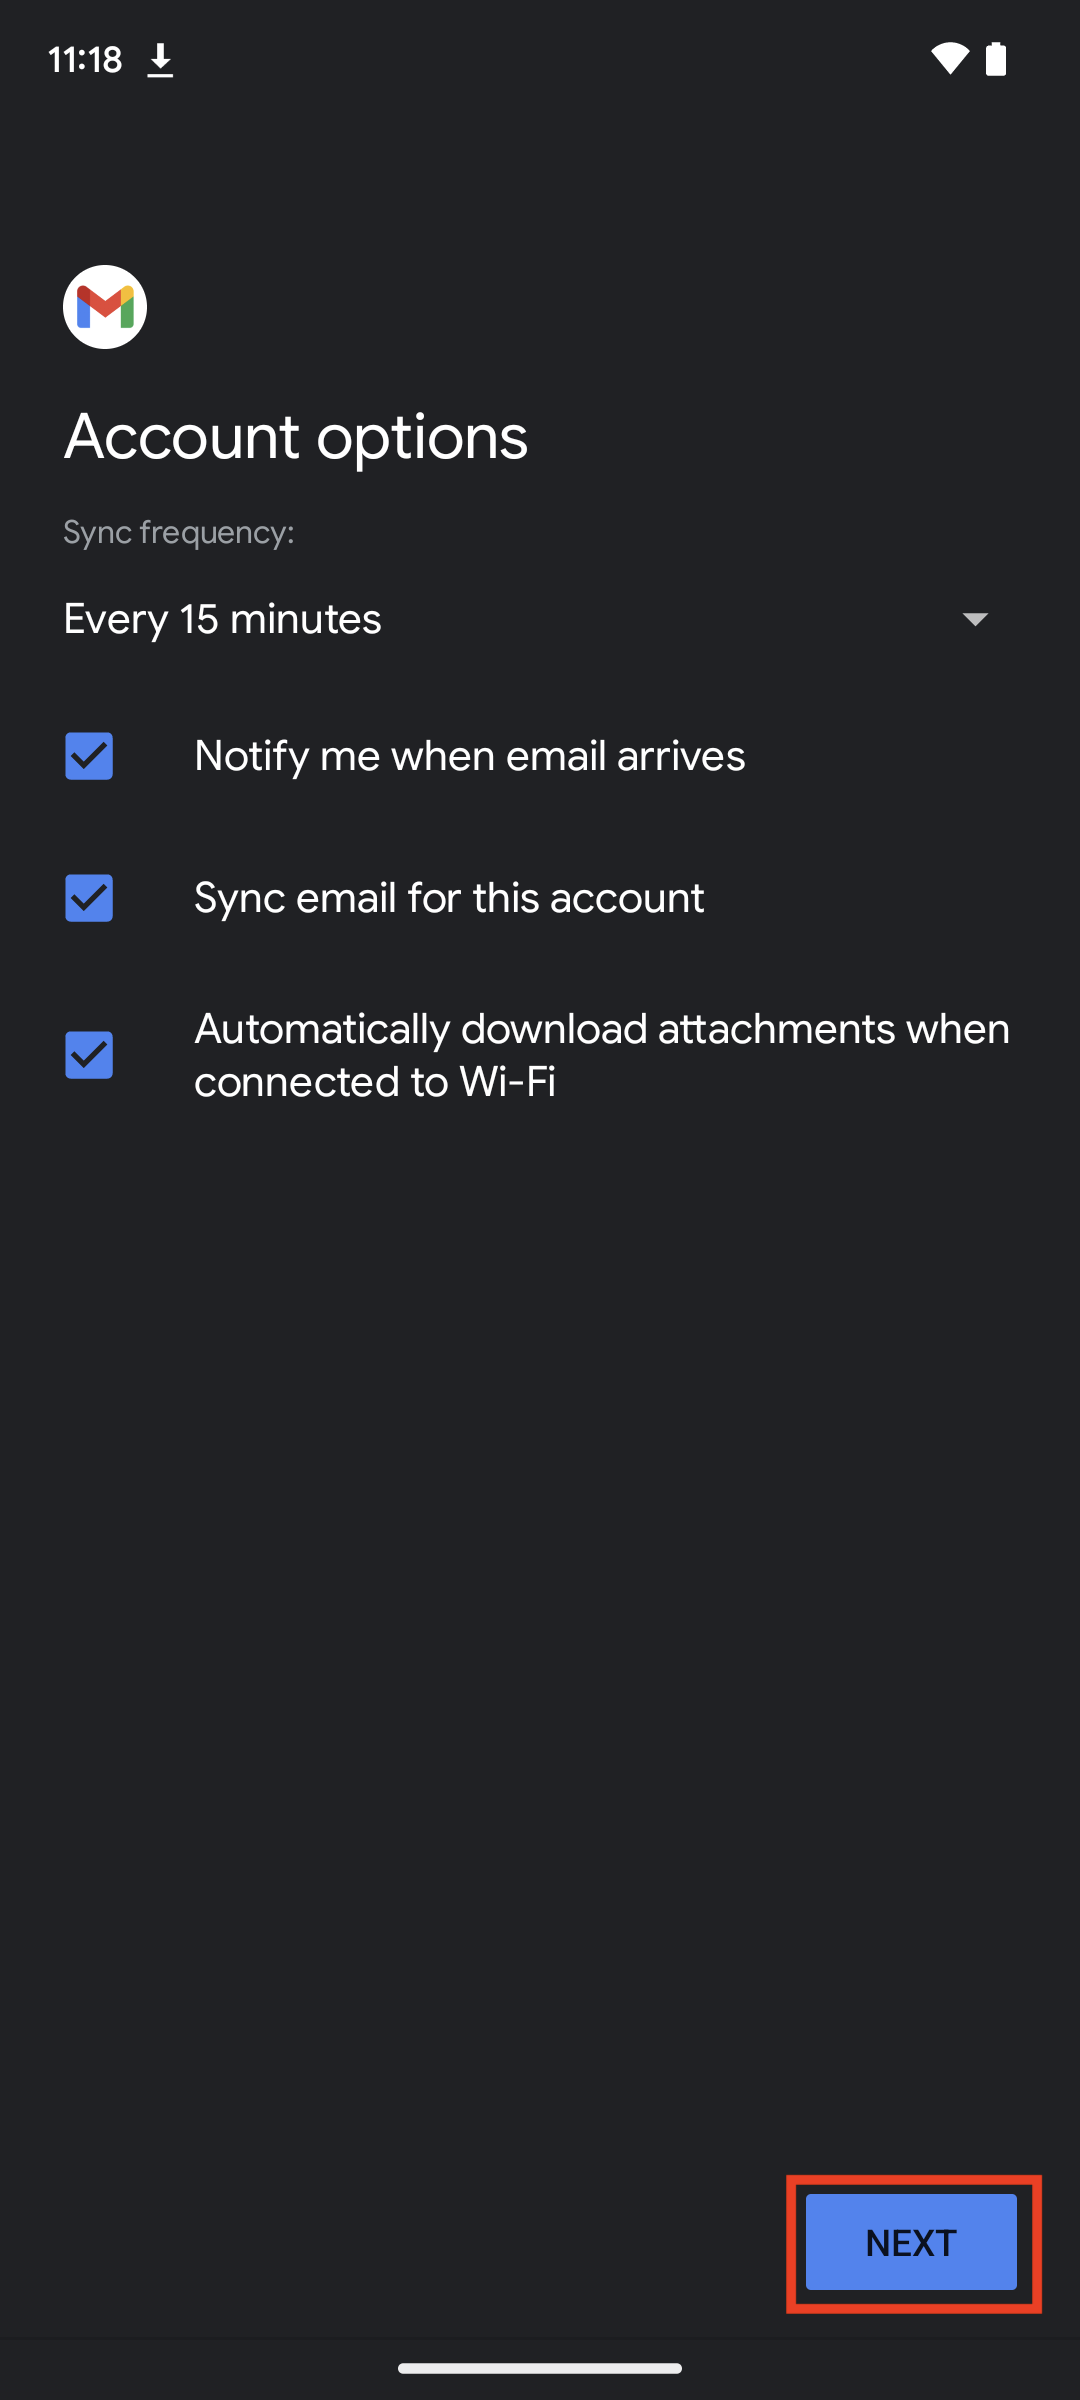
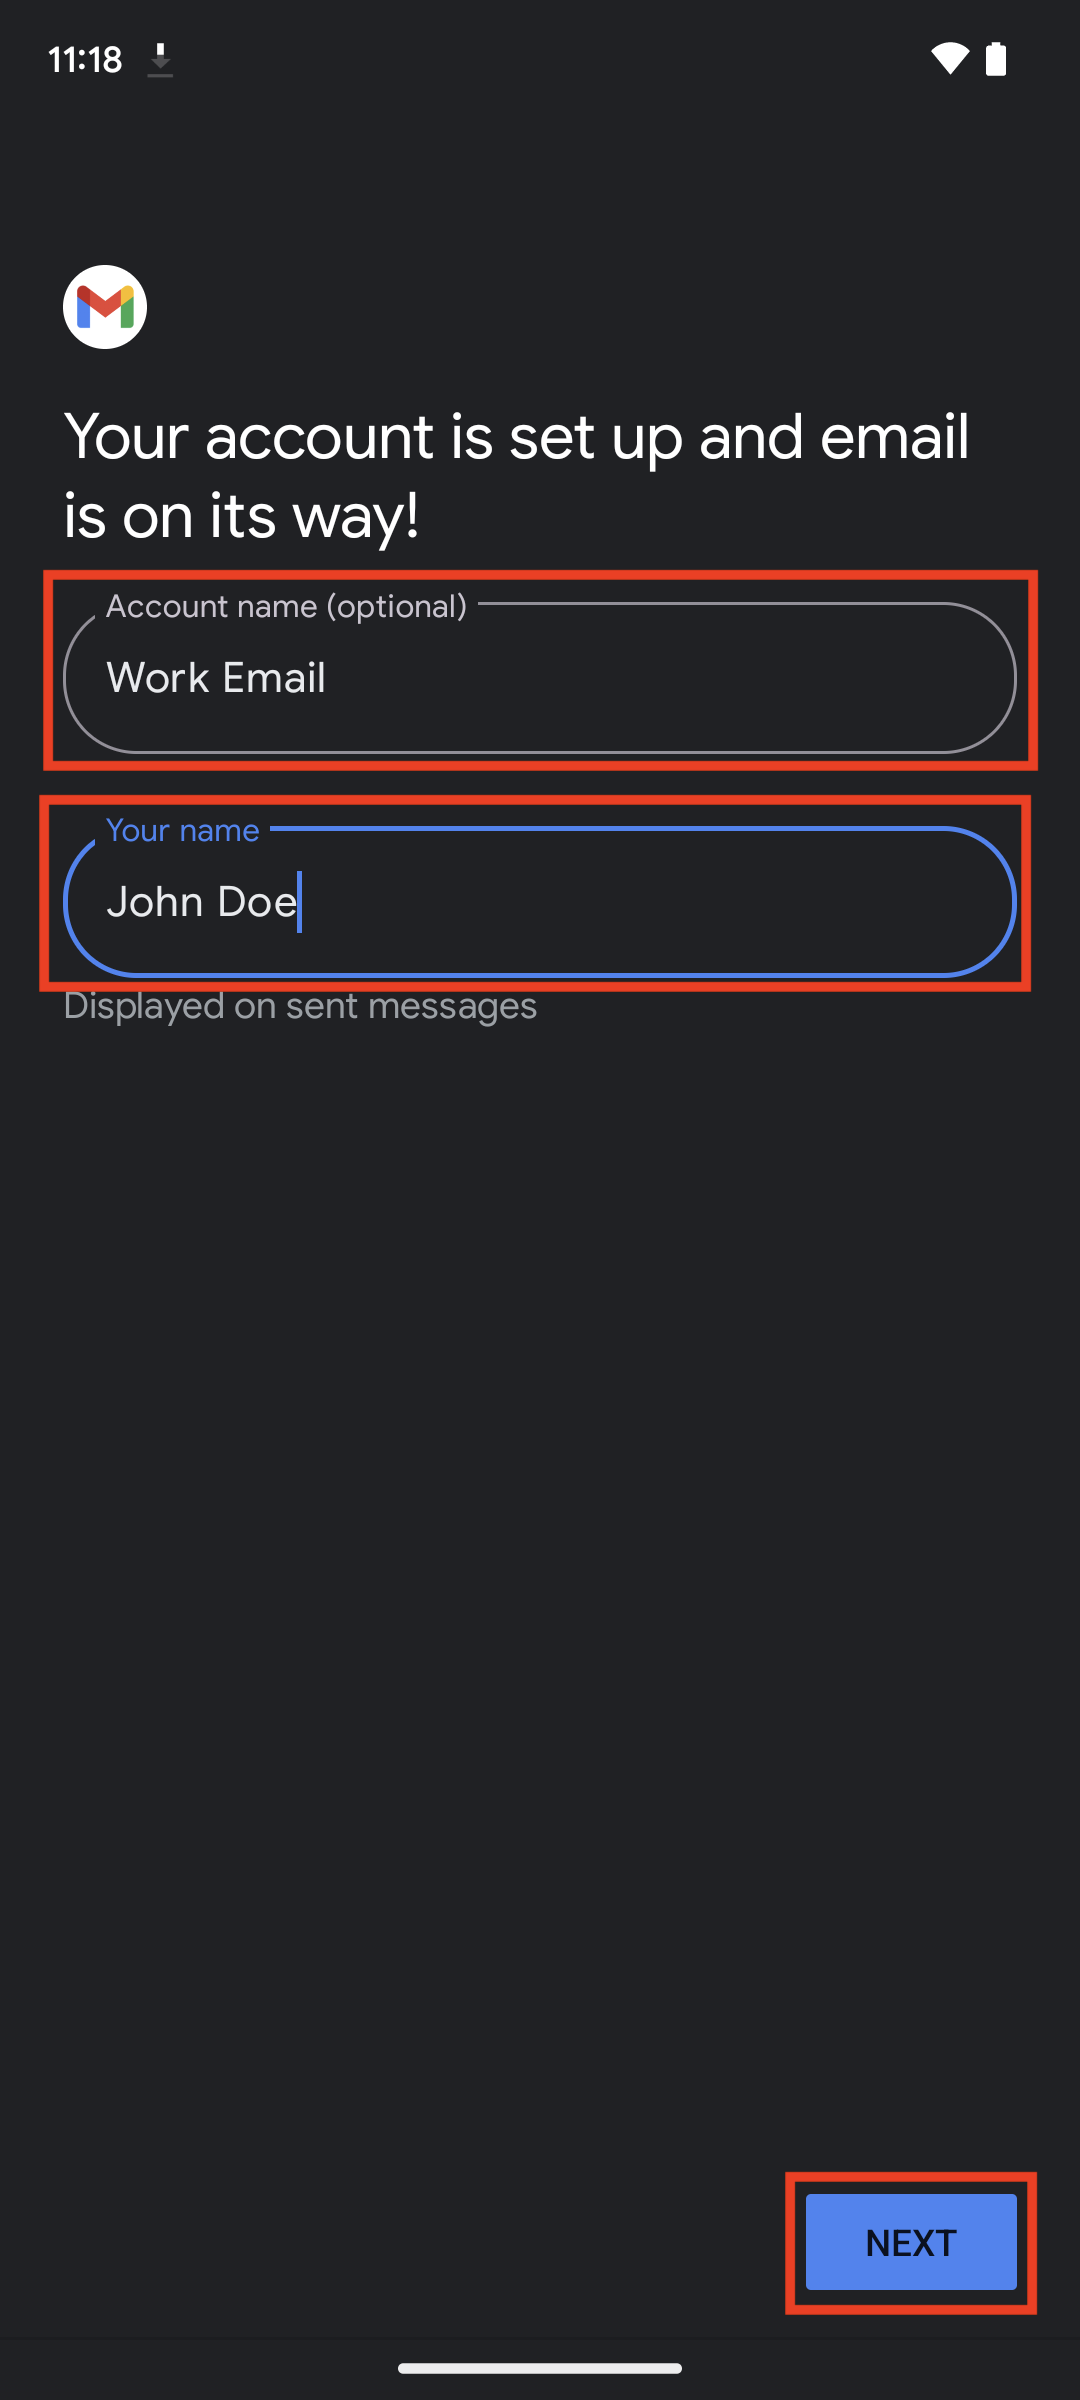
Step 16
Enter an Account name to identify this account if you plan to install multiple email accounts
Enter your name, this will be the displayed name on all outgoing messages (what recipients see)
Touch Next
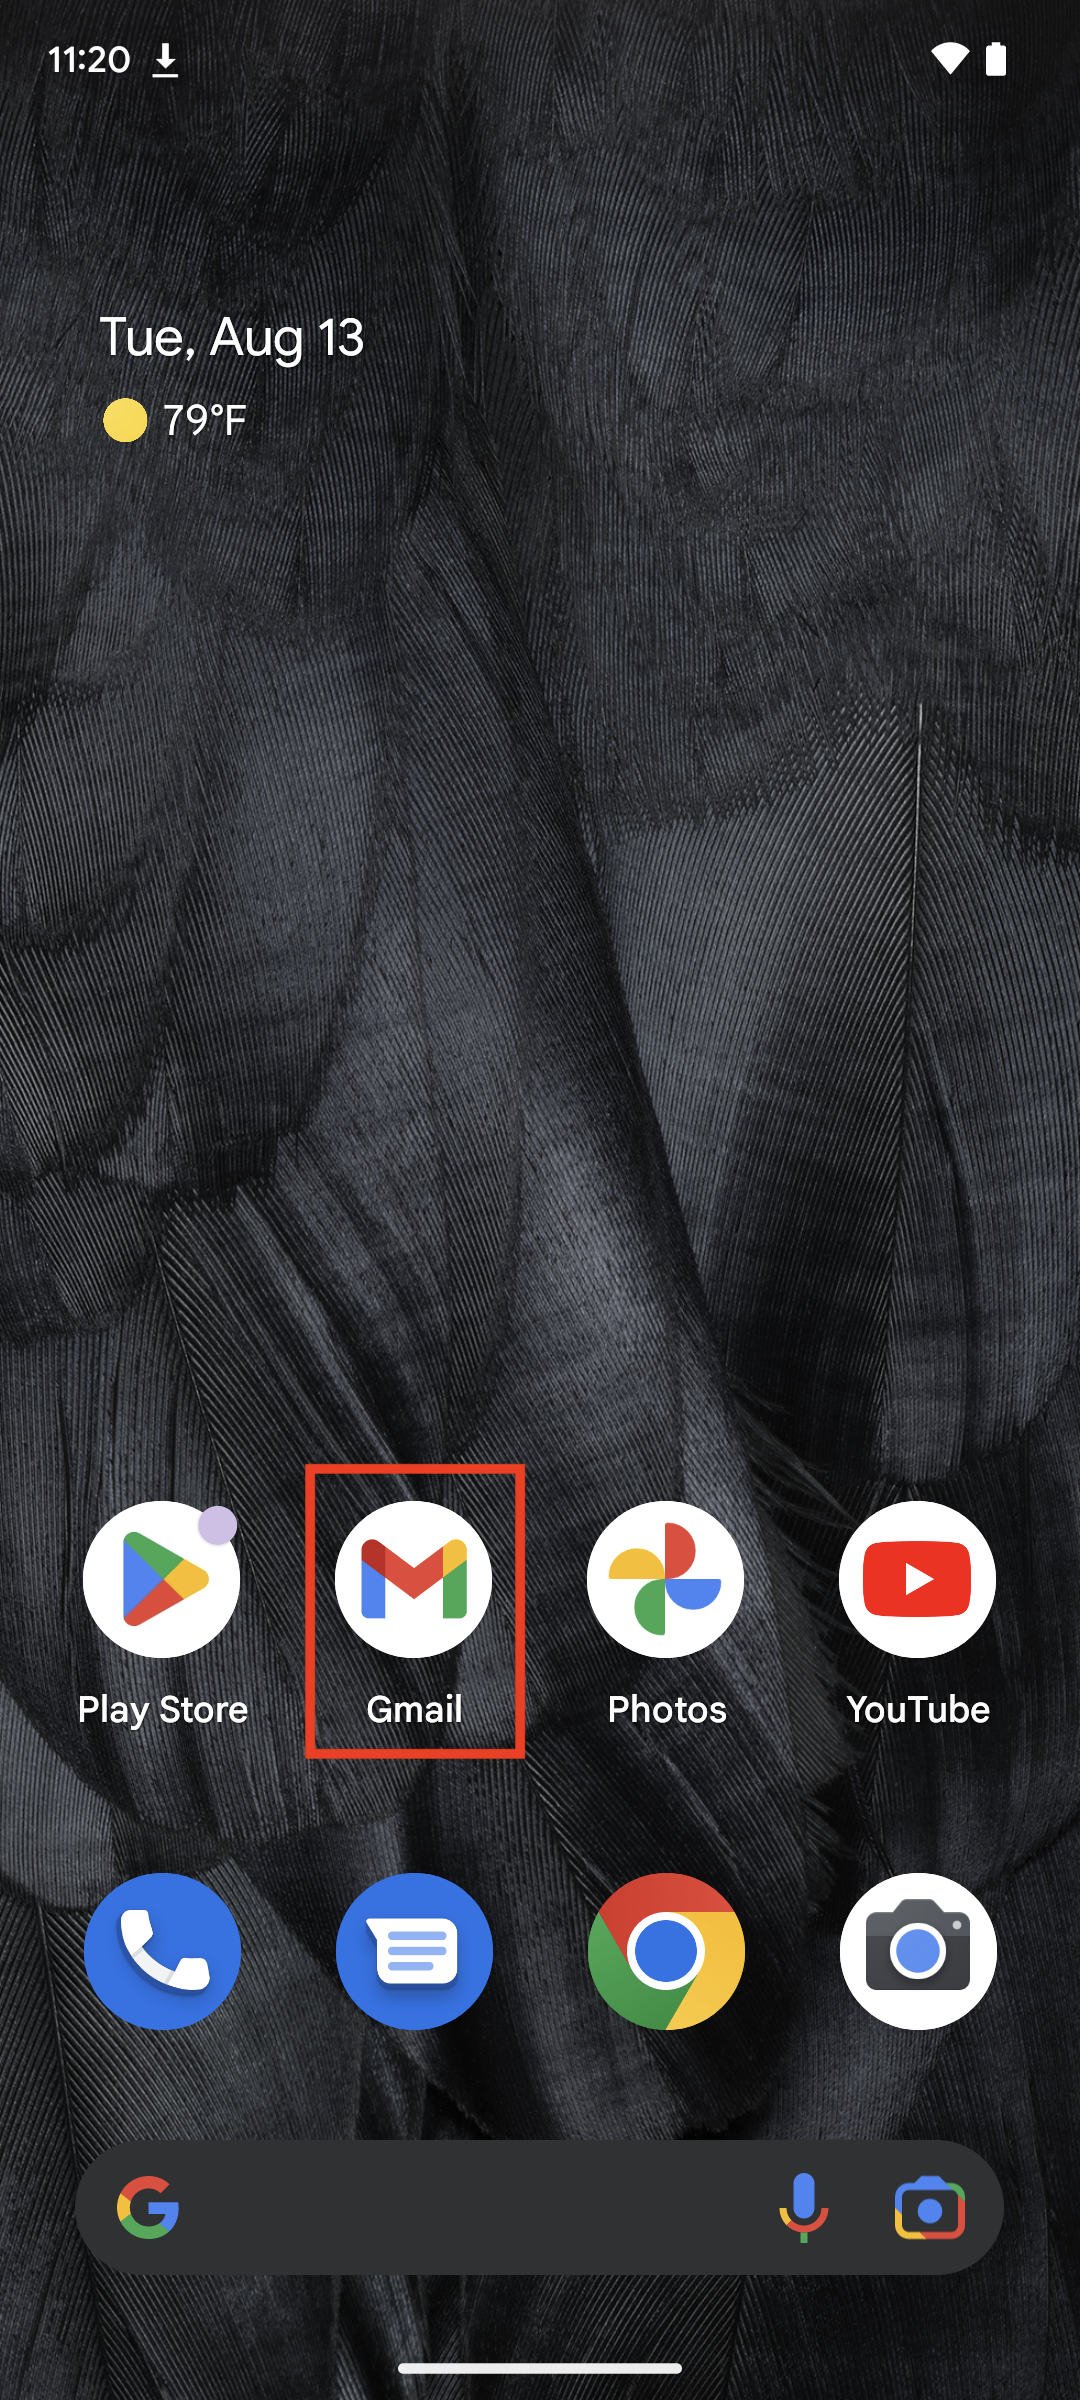
Step 17: Open Gmail app
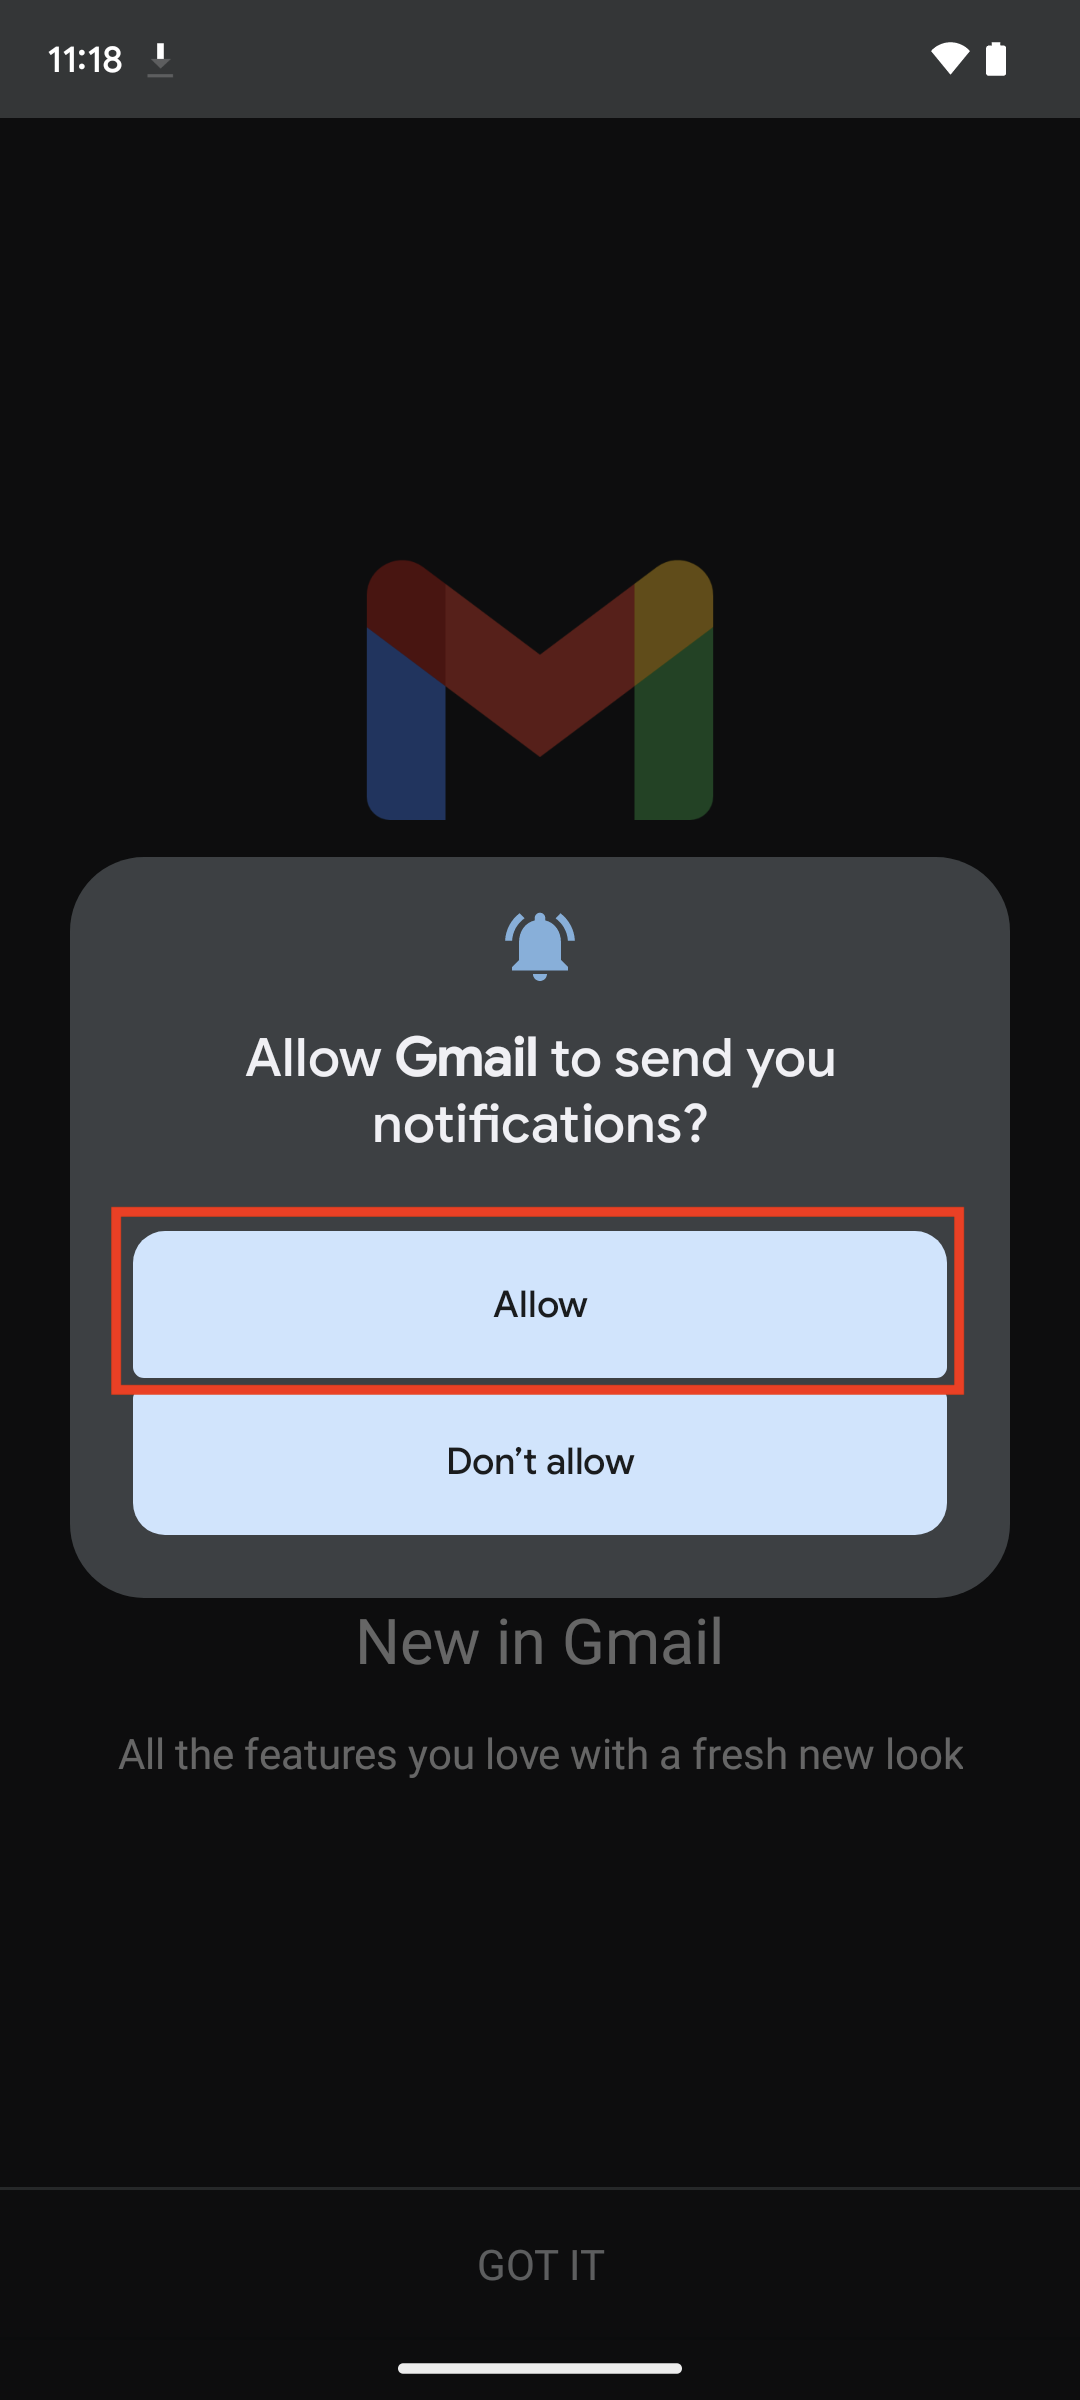
Step 18: If this is the first time you are opening Gmail, Touch Allow
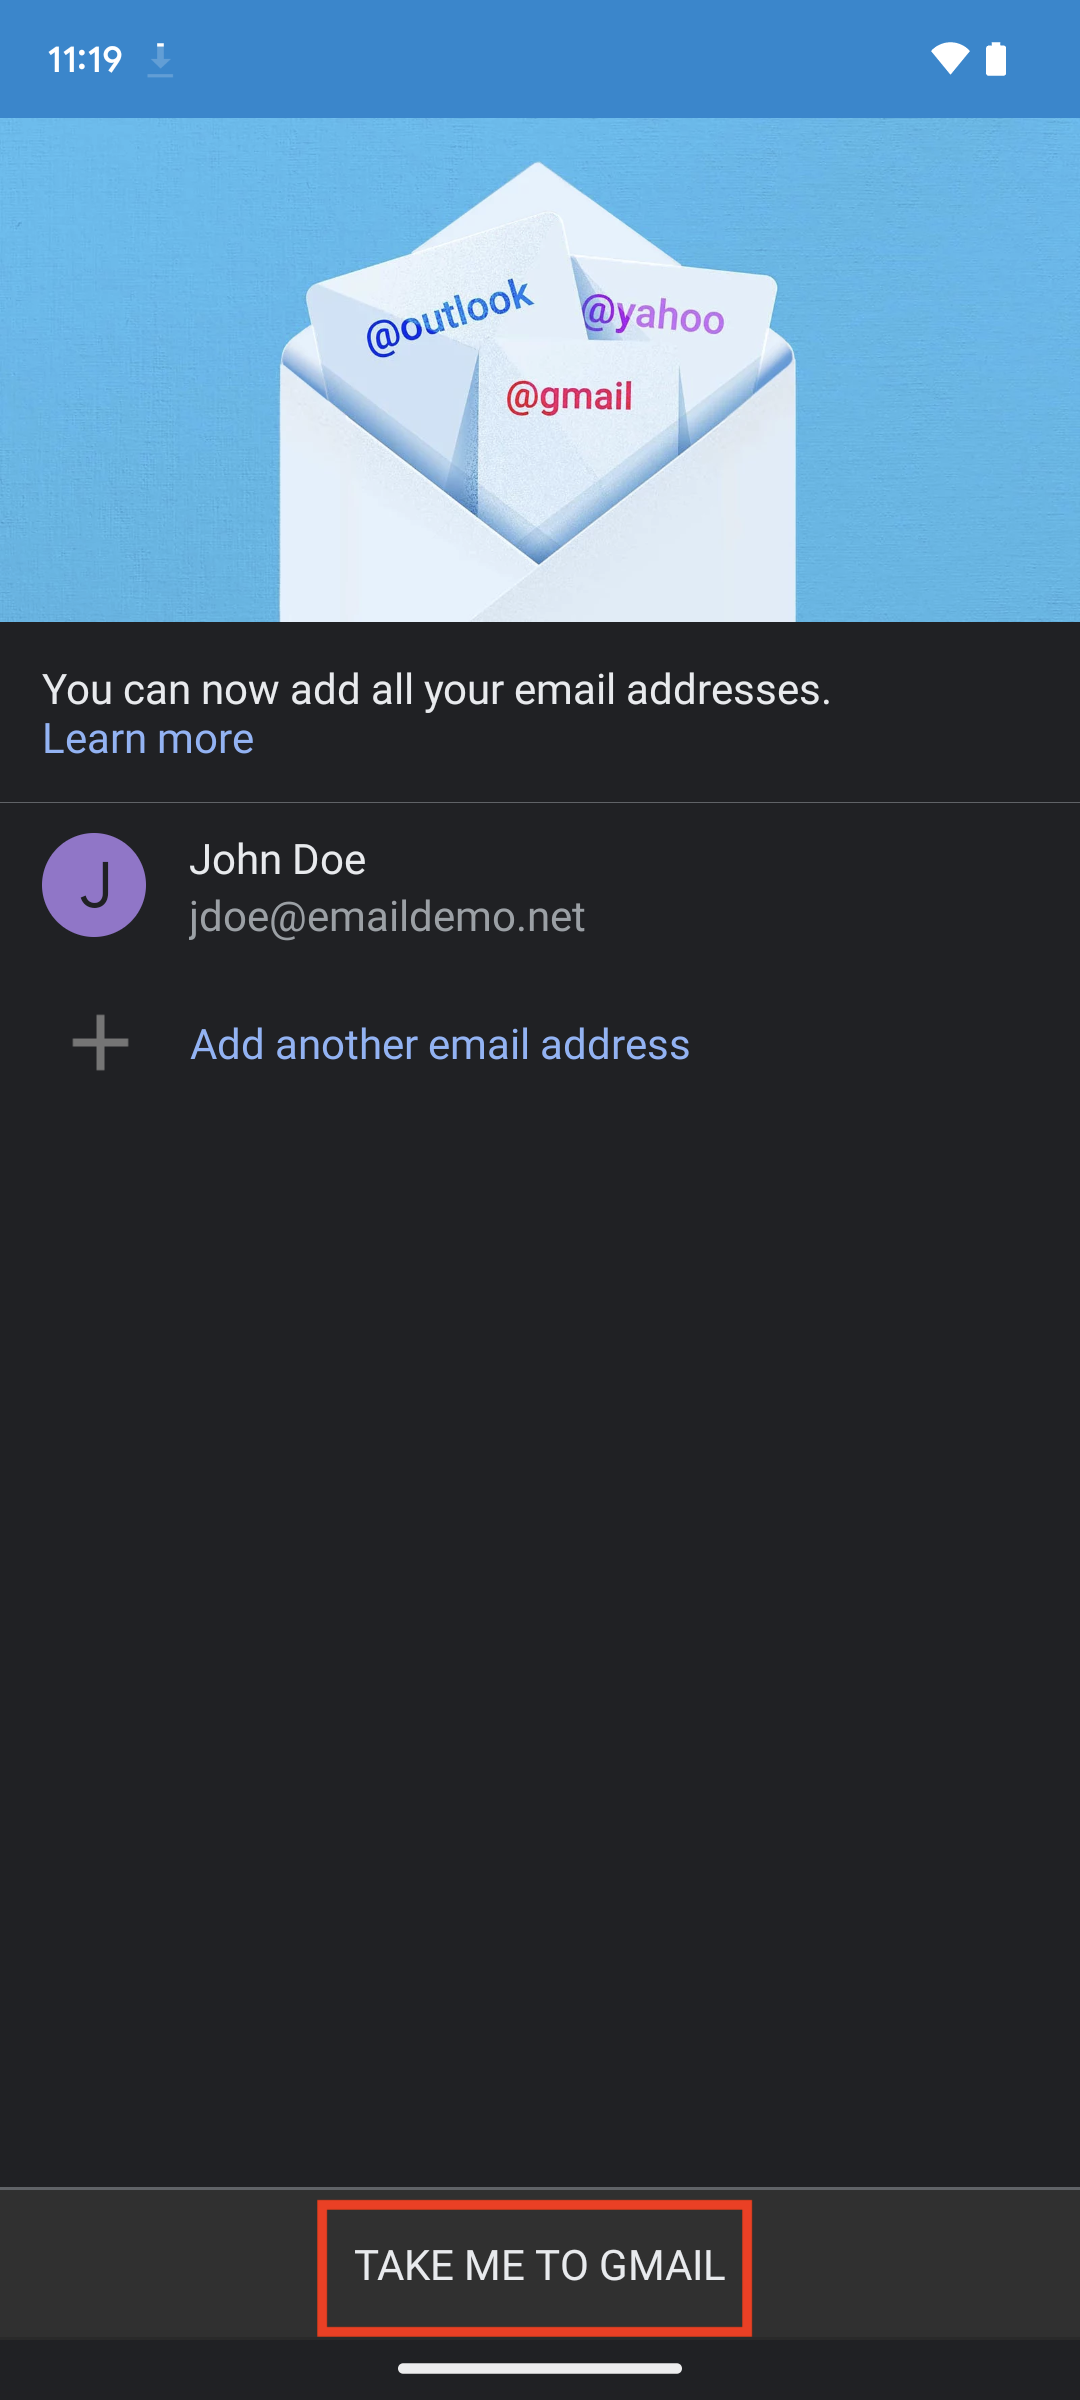
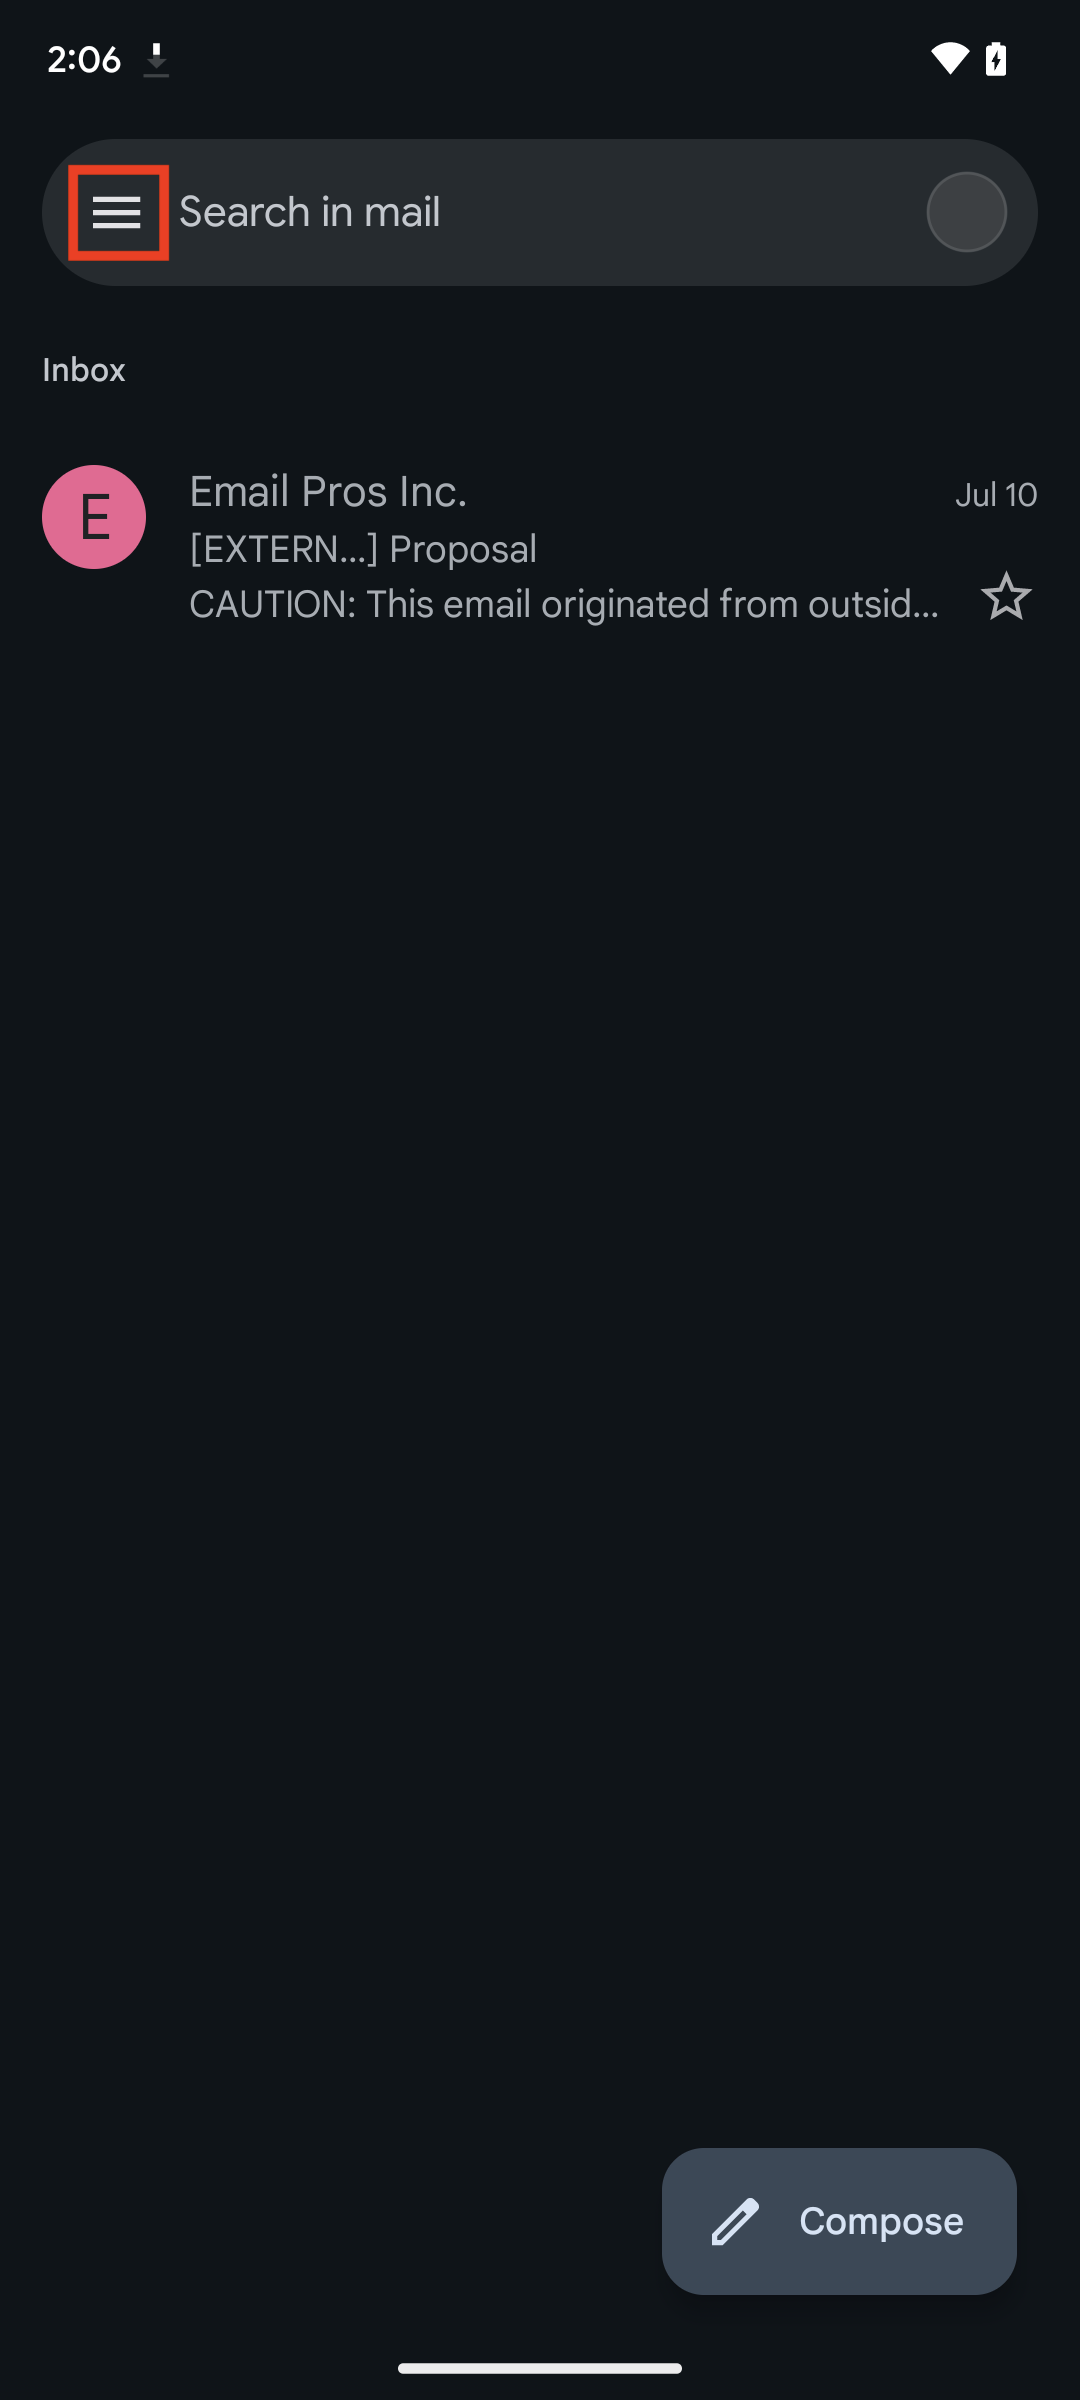
Step 19: Touch Menu
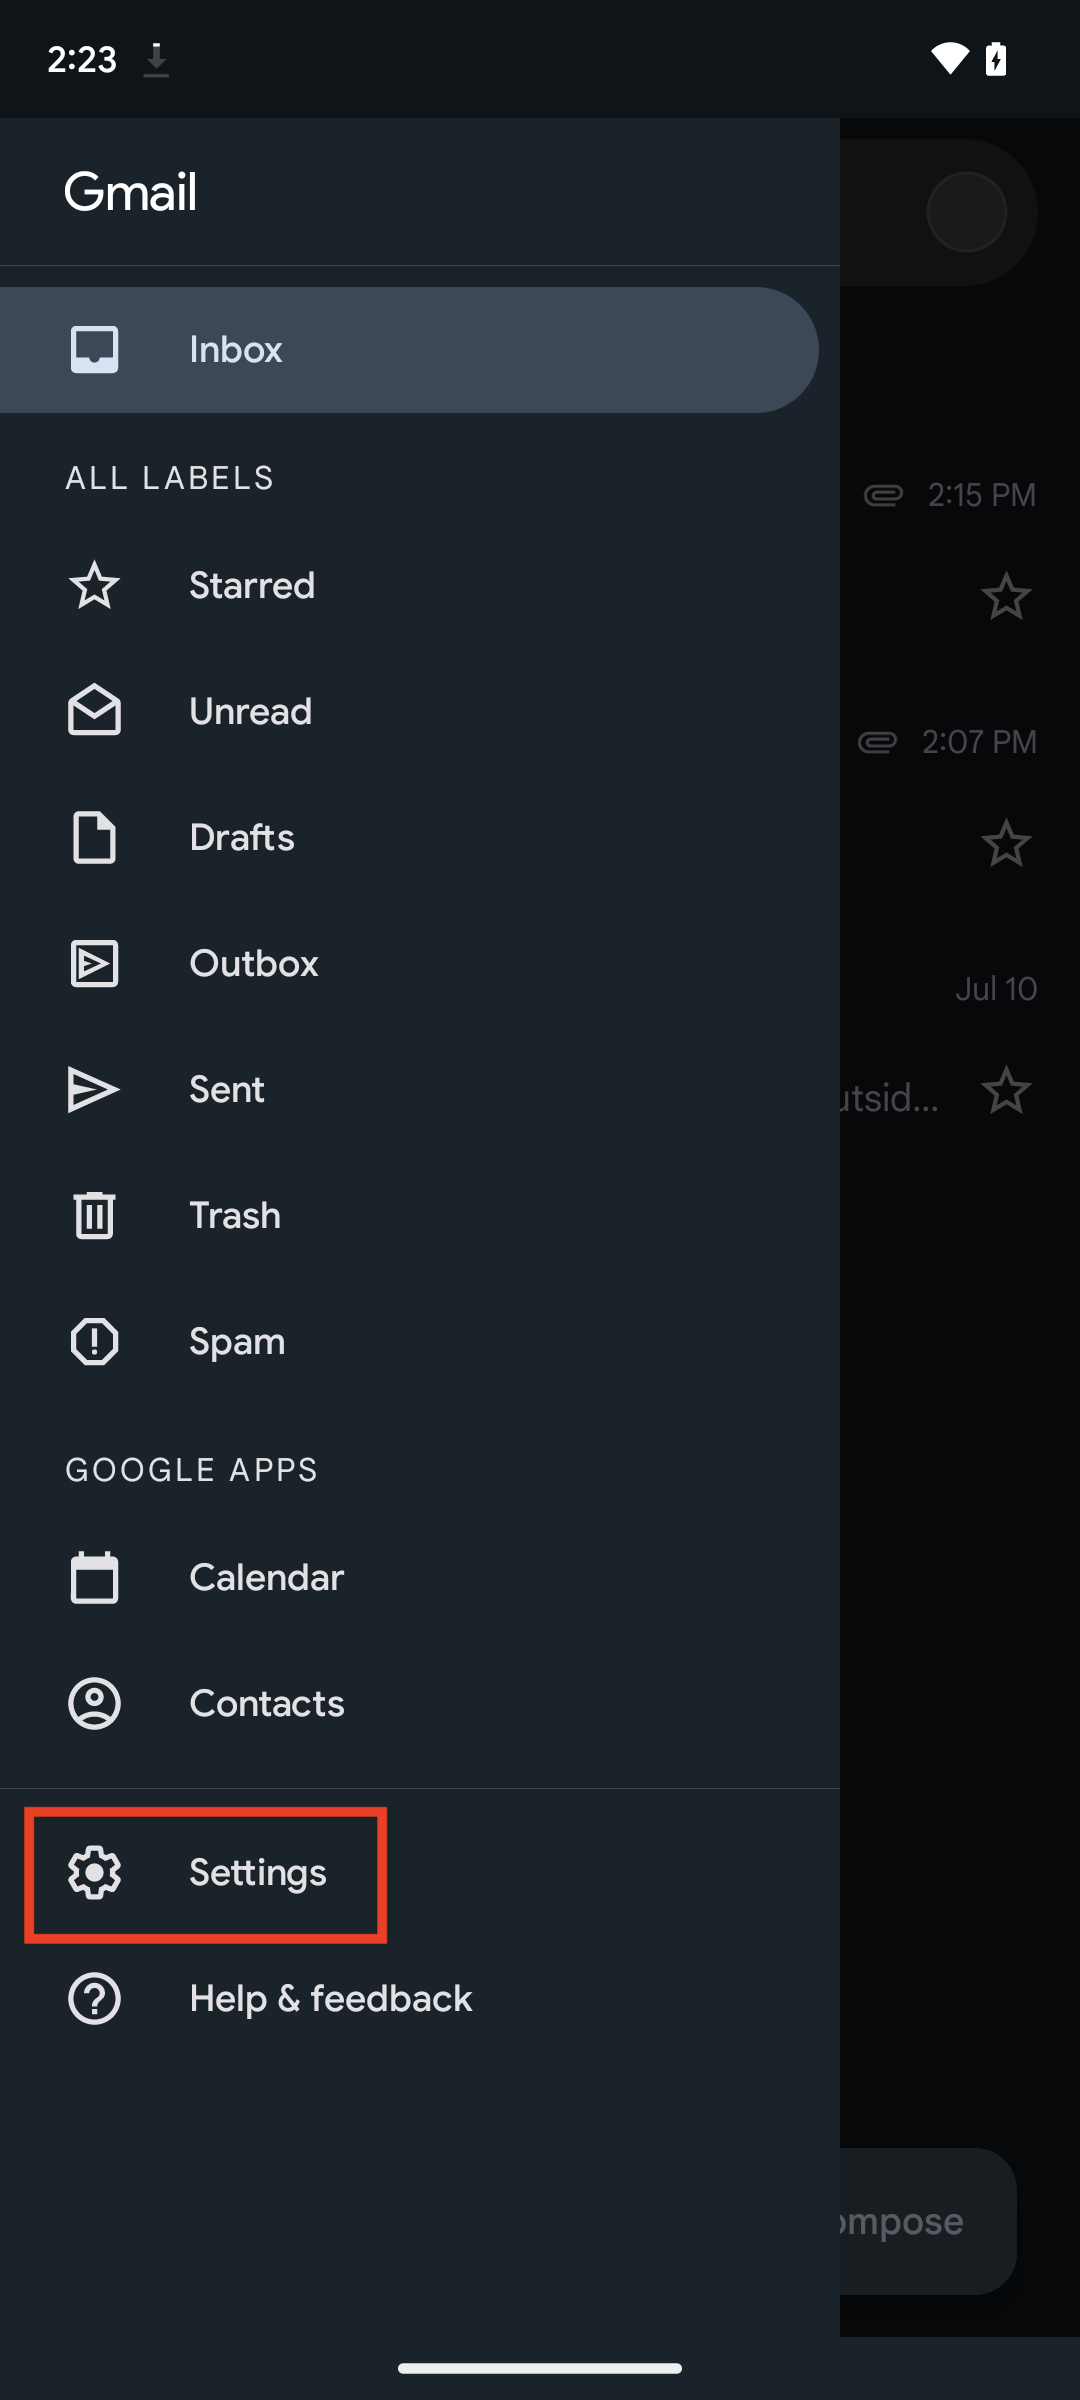
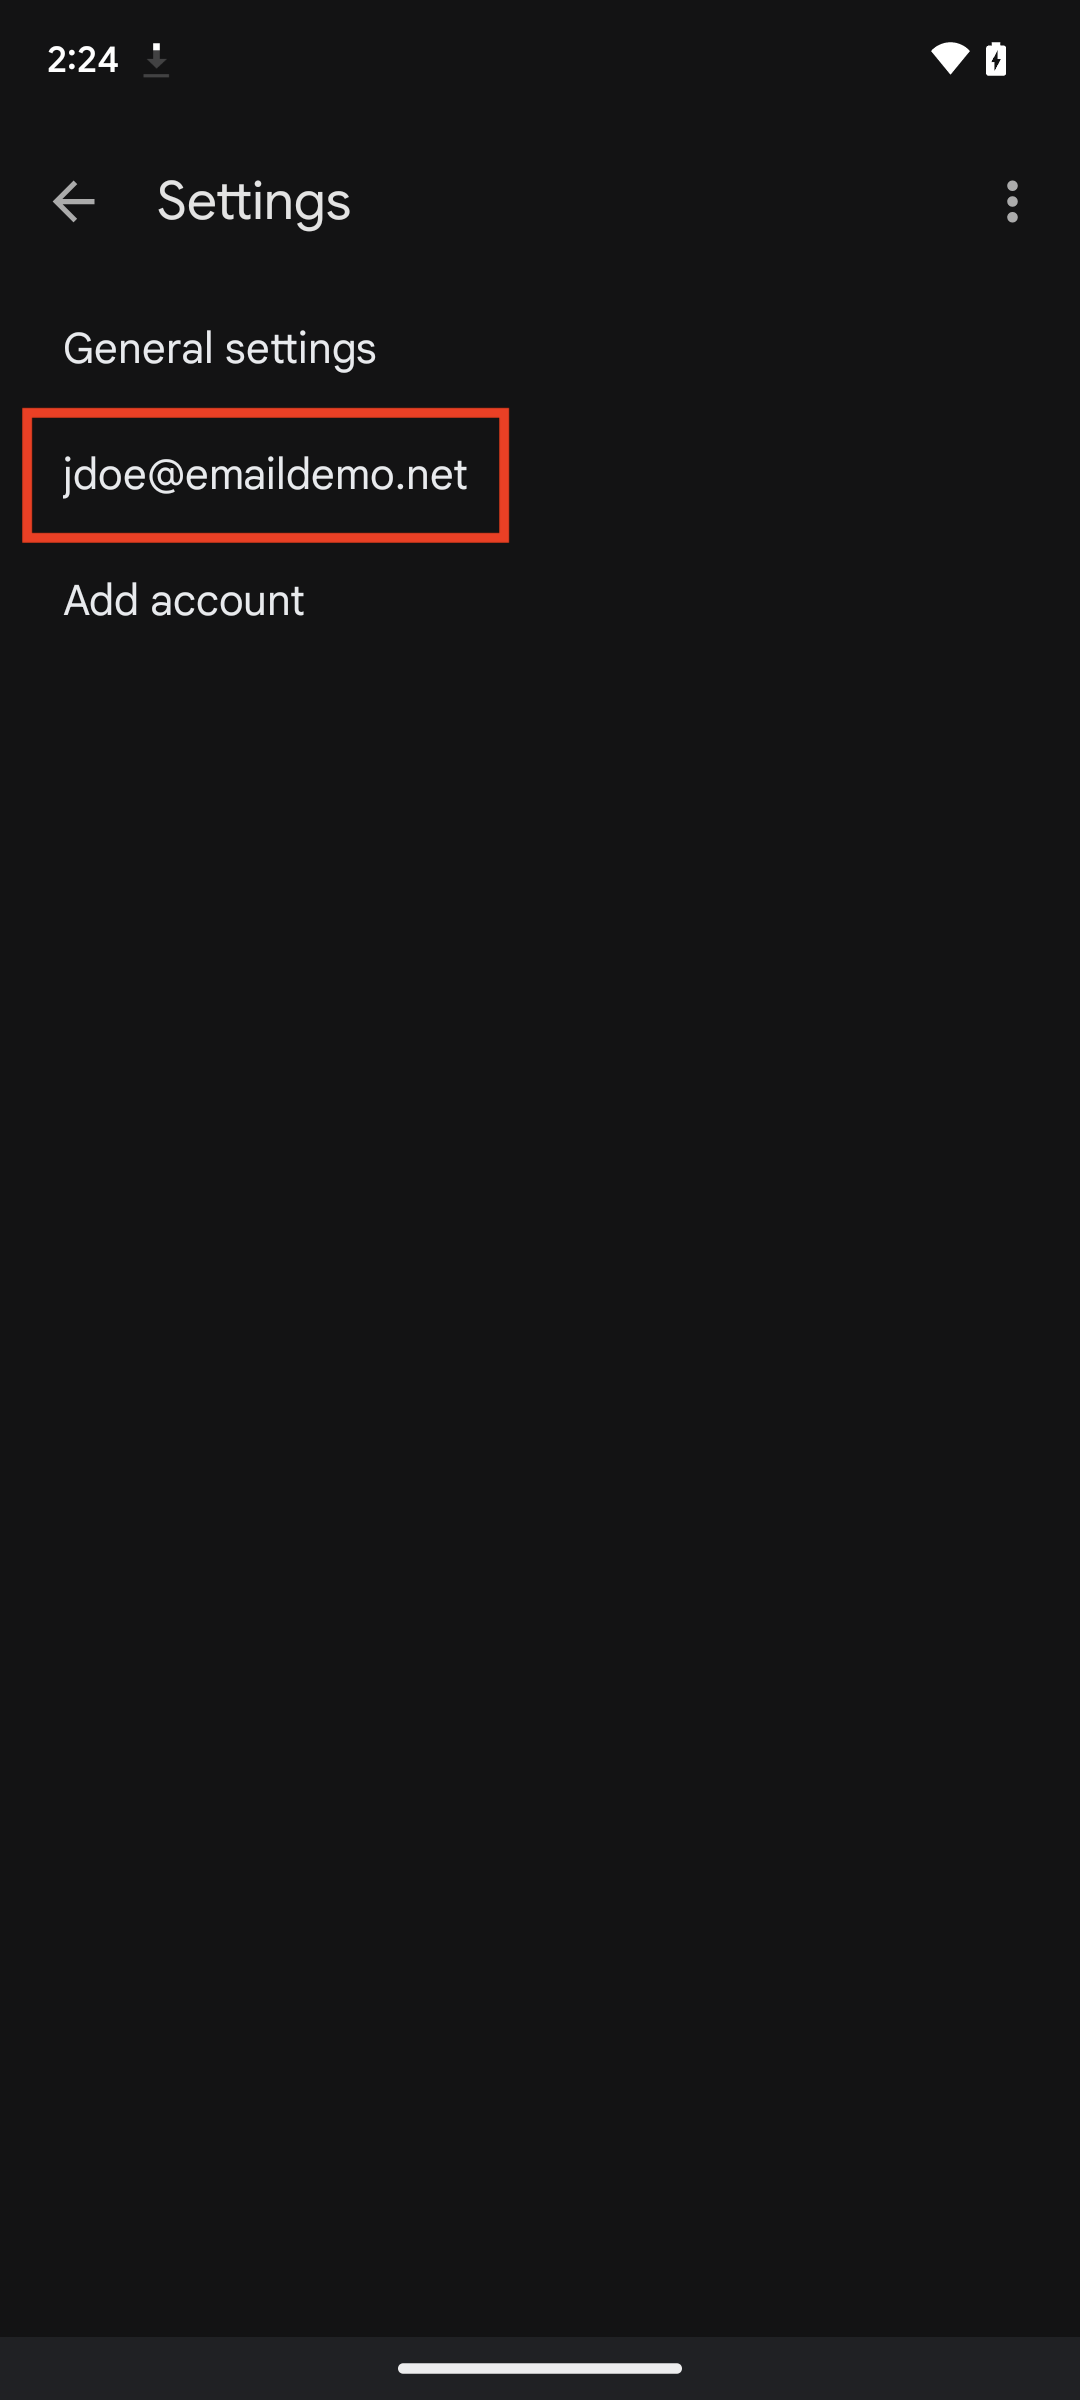
Step 20: Touch Settings
Step 21: Touch your email account
Step 22: Touch Mobile signature to set your signature